
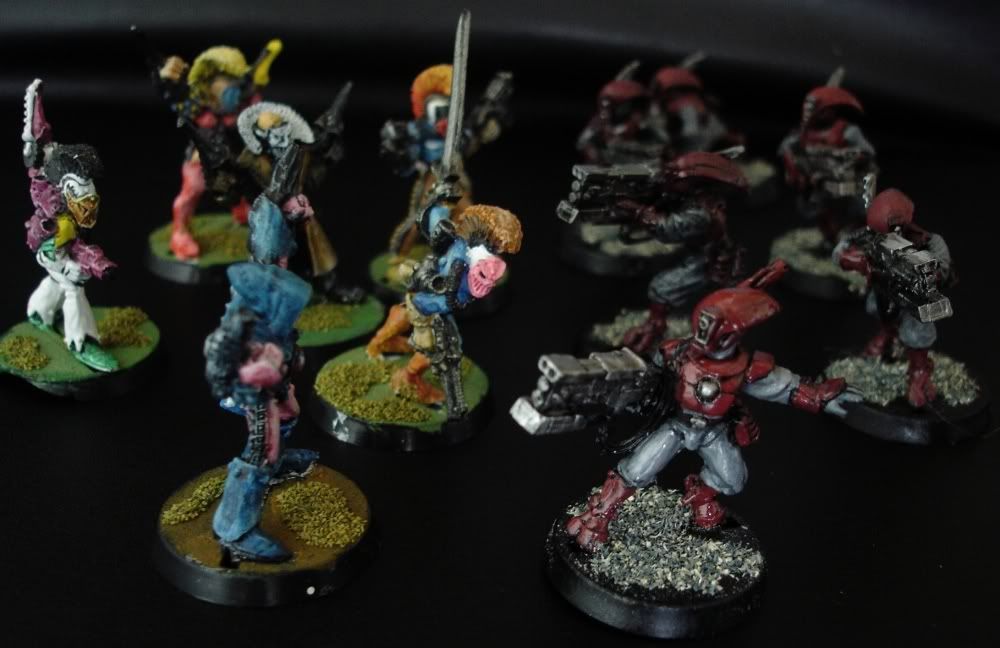
 Tau Pathfinders face their doom at the hands of a bunch of clowns
Right, so if you've read the first tactica on Army lists then you'll know that my objective is to present some basic but essential 'one size fits all' tactica for choosing and fielding any army. This is quite a big ask, but importantly for experienced and new players out there, it sometimes useful to utilise a structure for 'keeping your head', and staying objective during a battle.
In the first part, my army list tactica focused on two key points; heat (the perceived and actual 'danger' of your unit) and what I will coin here 'deniance' (the ability to exclude your enemy through the use of range/LOS et cetera). However, how does this build into your battle plan, well that is what we shall now explore, focusing on two key structures: Choices and Circles.
Circles
For anyone familiar with martial arts, or the 'Kushiel Legacy' saga (if you ain't, read it!). The use of circles is an essential part of understanding defence and attack. When we look at the intervening battle between the Eldar and the Tau - it is easy to see how circles can help us understand the interplay of the battlefield. Put simply, when you contruct a unit , think about it's reach on the battlefield, as demonstrated below:
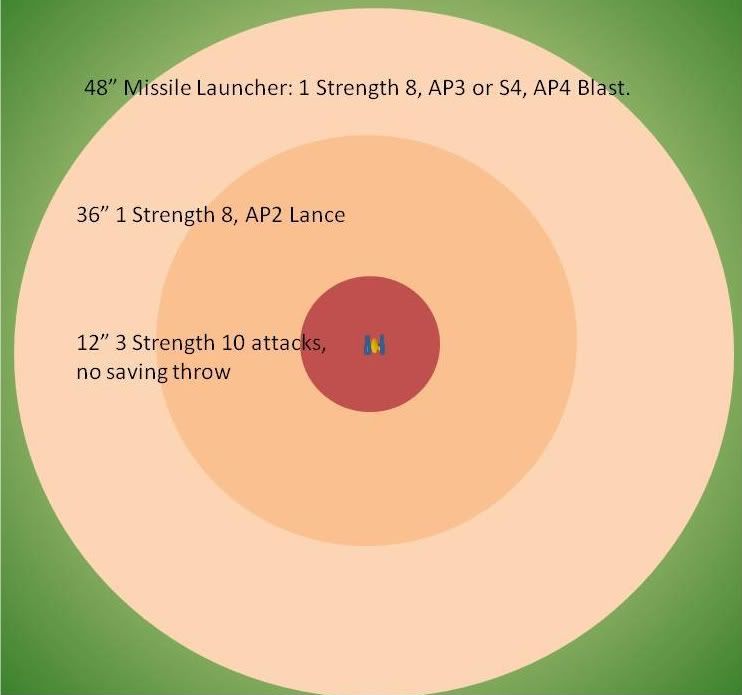 The Wraithlord is armed with a Brightlance and a Eldar Missile Launcher. Being a monstrous creature, it can fire both weapons everyturn. This gives is layers of 'lethality' ranging from reasonably at 48" to very at 36" and then extremely at 12". While on its own the above information is obvious, and consciously you will know this, it plays a greater part when configured onto the battlefield.
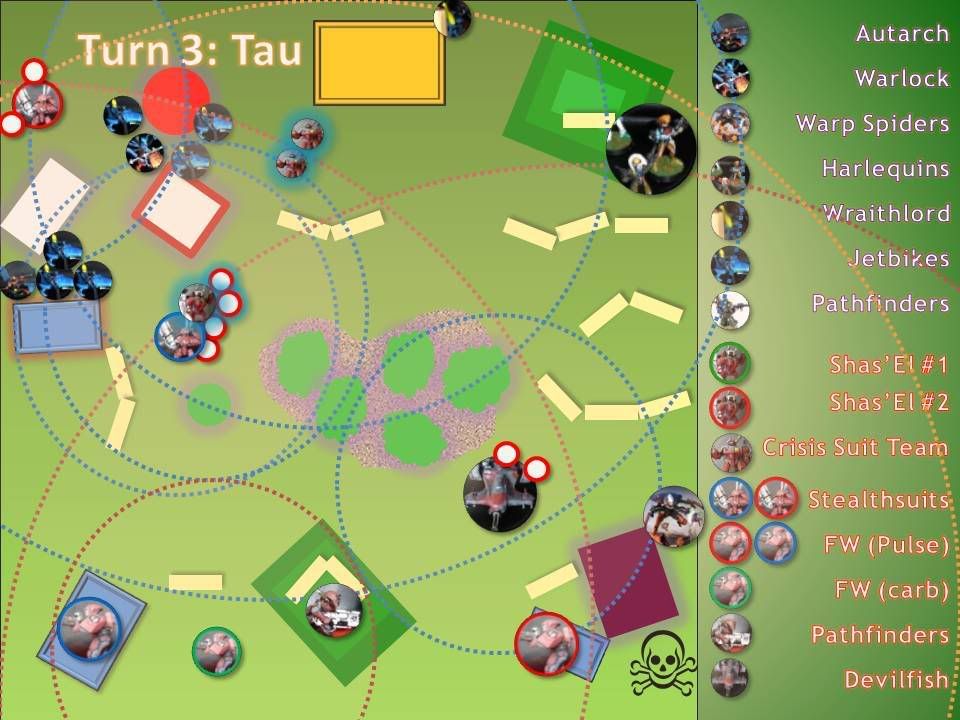 As you can see here, I've outlined the fire patterns of the different Tau units, I've left out the 'close combat charge patterns' and I've also assumed all units are stationary (add 6" if they can move and fire). However, what the diagram demonstrates aptly is the concentration of potential firepower. Visualising the potential in this way can help you focus your firepower on a particular unit or choose your effectiveness. The Tau player has focused himself on the jetbikes firing both markerlights and all the firepower of the stealth and crisis suits at this target. In the actual battle both units are routed and their fast attack danger averted.
Doing the above for the opposition also demonstrates open spaces or potential traps. Looking at the above diagram for the Eldar player you can see how a pathfinder team or group of dark reapers could have dominated the board from a position at the top right.
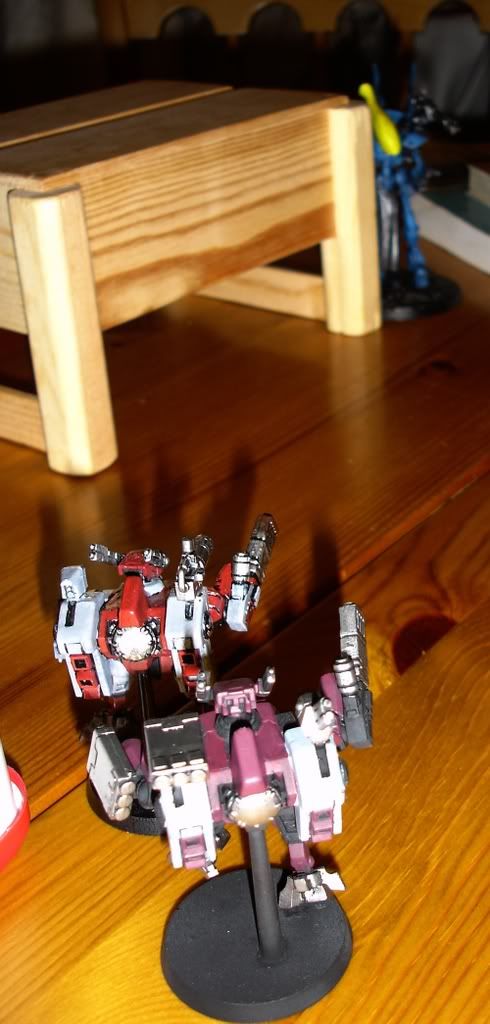
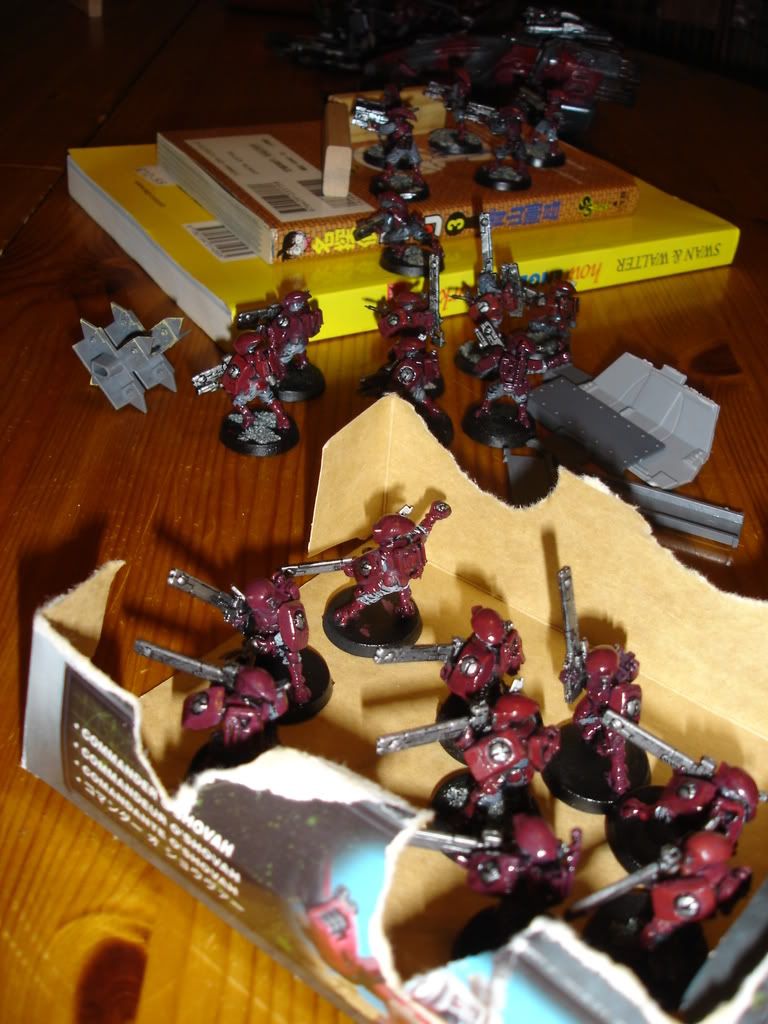 The Tau gunline in all it's glory, shame about the lack of quality cover!
What the diagram occludes is LOS (the example: the warp spiders are safety tucked away on the right) and special abilities like the Harlequins or XV25 stealth abilities. When considering the strength of your deployment, always keep a weather eye on these spheres of influence as they play in several ways:
Heat: The firepower combined with the durability of your unit details the 'heat' factor associated. For example a carnifex or dreadnought will gain heat the closer it gets to the enemies lines. Alternatively, close combat specialist with be burning brighter than the sun when facing any guard or Tau force. By understanding range and plotting circles, we can arrange our firepower and see off the 24" Hormagaunt charge or the Harlequins leaping attacks.
Deterrance: A key factor in understanding how your opponent will view your army, and exploiting your weapons choices - not to engage, but to 'disengage' the enemy. Example: Guard are very vulnerable to flamers as it denies them a saving throw and ignores their hard won cover. Against Tau, flamers are given exclusively to Crisis Suits, and are very cheap. This makes Guard nervous. By placing a meltagun in each scoring squad, the basic guard units have gained an essential instantkill detterent. The Crisis suit is less likely to engage. A similar function lies in the powerfist for space marine sergeants, it might kill the carnifex, but it will certainly make anyone think twice. Harlequins and Tau Stealthteams are a detterence in themselves as they are difficult to shoot and you don't want to get within 18"!
 Exploiting Deniance: The Wraithlord is hot, with high toughness, Save 3+ and lethal weaponry. However the Crisis Suits jump packs, with move-fire move, negate all these advantages and the hunter becomes the hunted.
Deniance: the word doesn't exist, but it should... effectively using line of sight (LOS) and range to deny your enemy a target. Example: The jetbikes above are exposed while the Harlequins and Warp Spiders carry on merrily. The Tau gunline is intact, but with only a limited sphere of influence. By deploying outside of this, the Eldar could tip the tables.
Hopefully the eamples and diagrams above demonstrate how you can best equip, deploy and exploit your force.
Choices
Let's think on some aquatic animals for a moment. Lets look at the mightiest of beasts and the greatest, most lethal exchange between the Sperm Whale and the Kraken. The sperm whale has a straighforward approach. It attempts to hit the Kraken as fast and as hard as it can and then crush its body within his jaws. The Kraken, if caught, will attempt to gouged the Whales eyes, rasp its flesh and sufficate the mighty whale. So how does this relate to our armies.
Well imagine you are fighting the Kraken, like in 20,000 leagues under the sea. It's eyes and vulnerable part as beneath the waves, it strikes from many angles and forces you to strike at one part or another dividing your forces. You can hurt it, but you cannot kill it. It is, in essence, an invulnerable target, unless you can go for its head.
The Sperm whale is a different beast altogether, like in Moby Dick, it will charge and plunder, it will crush the independent boats of your attack without mercy, it is tough, but it has limited attacks. It can only attack one objective at a time.
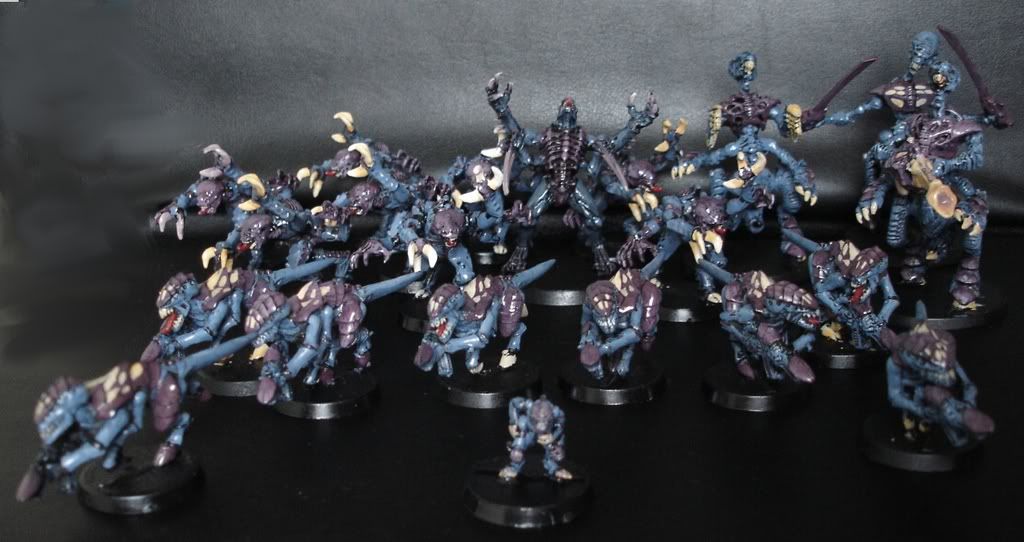 The Tyranid Horde - an outdated Sperm Whale (honest!)
These two great fictional bodies outline the potential of two key forces in 40k. The first represents the varied battleforce, striking from many directions. The second represents the unstoppable momentum of the charging tyranid horde, the landraider/terminator combination or the ork biker squad.
 "Listen up you clowns, Suneokun knows what he's talking about here! I should know,
I'm so redundant, I'm relegated to an objective marker! Bet you don't even know what I am!"
The problem I have with the 'superhorde' approach is their 'instantwin' formula. They are effective as long as their codex gives them a definite advantage (as we see with Ork Nob bikers). Other codeci will eventually subvert them. For example, I'd love to see the Ork Nobs going at the new guard listing - methinks it's days are numbers. So with the definitive advantage gone, the list then subverts to the varied battleforce. And why would it do this?
Answer = Choices
The objective of your game, in the simplest terms is this:
Deny your opponent the ability to force choices,
maximise the difficult choices he must make.
Lets use a live example. Have a look at the following excellent battle report from Fritz. Have a watch of this and then read on...
During the battle, Fritz Saim Hann army are facing only one choice - engage the Landraider or don't engage. This represents a 'sperm whale' assault. Although the Landraiders are impossible to destroy, Fritz cannily uses 'deniance' or range limitation, speed and invulnerable saving throws to eek a victory. It's not that pretty, but he wins. The other player doesn't have a leg to complain on, after all he's brought an outdated 'sperm-whale' to the contest and been beaten by Fritz' Sperm Whale/Mixed Battleforce and deniance.
On the other extreme, look how Fritz dominates a battle against the Guard here. By forcing the guard into a single choice of exterminating the near indestructable seer council, he gives the rest of his force the complete freedom to exploit their spheres of influence and attack the guard. Although the guard have more effective firepower, with this focused on the seer council - the fire lines, spheres are irrelevent. Subsequently a massacre.
The final example is between Bobby's spohisticated Ultramarines, utilising intelligent spheres and deep striking death against Fritz' powerful force. See here. The two forces are well matched, both taking layered 'Kraken' type forces utilising multiple circles of firepower and the ability to strike in multiple places. The victory for Fritz come down to slightly better reservation of his force through spheres of influence and some VERY lucky rolling.
As you can hopefully see in the examples above, the use of detailed army lists tailored to maximising your versatility and durability, while limiting your opponents is key. Hopefully the concept above will help you to both build and deploy a successful force - whatever your army.
Remember. When choosing an army, think about Heat and Deniance, when fielding an army, focus on Circles and Choice.
Good Gaming!