
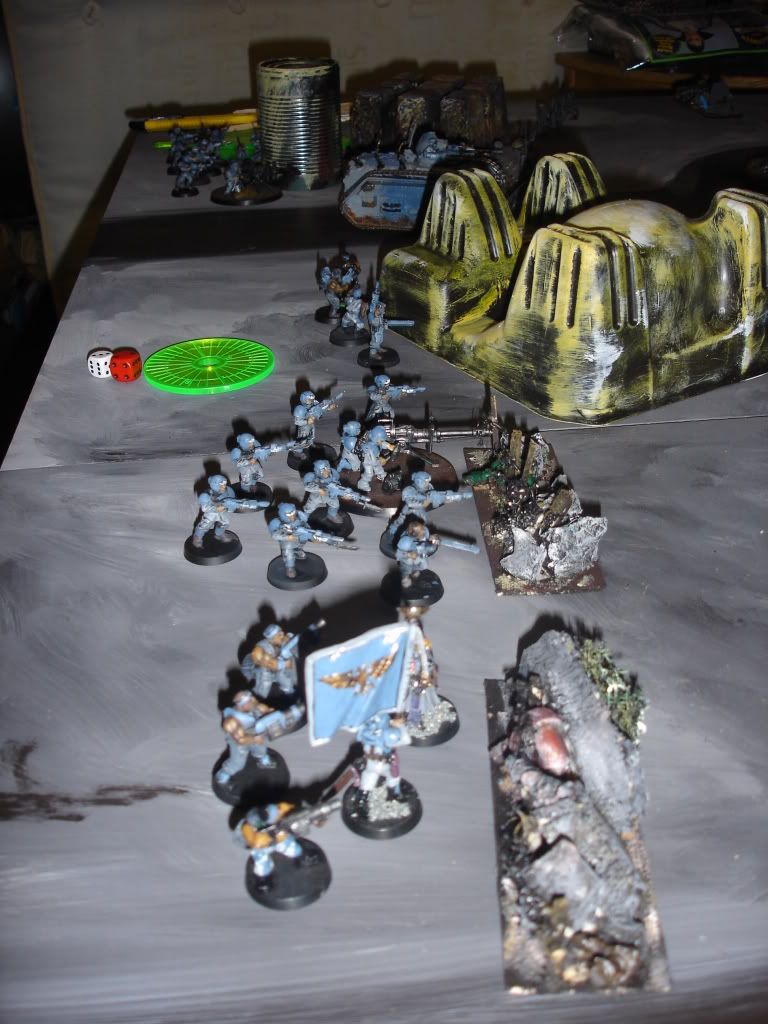
 A view across the battlefield.
By Suneokun.
Just a quick update and battle report. Devilin and I have partaken on a strange and unusual course. Effectively we've drawn up six army list at 500 pts each and will play a 'tournament', dicing off for each of the armies and playing two games a night.
The idea is that each army scores 'premiership' points for each game, effectively 1 point for a draw, 3 points for a win.
I drew up the Tau, Tyranid and Guard lists, while Dev took care of the Ork, Space Marine and Eldar lists. The armies are as follows:
Eldar: A light but mobile force, lacking the firepower or range of some of its contemporaries.
- 1 Farseer, fortune, singing spear.
- 10 Defender Guardian with a Shuriken Cannon.
- 5 Rangers
- 10 Dire Avengers.
- Wave Serpent with twin linked shuriken cannon, normal shuriken cannon.
- Command HQ, Junior Officer, power weapon, 2 greande launchers, Autocannon.
- Platoon Command, power weapon, 3 grenade launchers, company standard.
- Squad #1: Sergeant and 10 men, Autocannon.
- Squad #2: Sergeant and 10 men, Autocannon.
- Remnant Squad: Sergeant and 4 men, flamer.
- Armoured Fist, Sergeant and 10 men , Heavy Bolter, Meltagun.
- Chimera: Multilaser and Heavy Bolter.
- Ork Warboss, 'eavy armour, big shoota and powerklaw.
- 3 Ork Nobs, 'eavy armour, sluggas and big choppas.
- 20 Ork Nobs, Shootas.
- 20 Gretchin and 2 Runt Herds with grot prods.
- 3 Deffkoptas, twin linked big shootas.
- Space Marine Commander, Boltgun with Auxillary Grenade Launcher.
- 5 Sternguard.
- 10 Tactical Marines with Missile Launcher and Flamer.
- 5 Scouts with boltguns and heavy bolter.
- Ethereal and 12 Honour Guard.
- 6 Fire Warriors.
- 6 Fire Warriors (with pulse carbines).
- Crisis Suit Team Leader, Fusion Blaster, twin linked missile pod, hard wired multitracker.
- Stealth Team [3], Fusion Blaster with target lock and 2 Burst Cannon, 2 gun drones.
- Tyranid Warrior team, one with scything talons, enhanced senses and devourer. One with rending claws and deathspitter. One with rending claws and spine fists.
- 10 Genestealers with rending claws and flesh hooks.
- 16 Hormagaunts with flesh hooks.
- 16 Termagaunts with fleshborers.
Battle One: Eldar versus Space Marines.
Objective: Annilate
Deployment: Pitched Battle
 "Look, you go there and you go there ... no the other way ... urghhh, hurry up, those blasted Monkeigh are nearly here!" - Farseer 'RockSolid' Redhelmet.
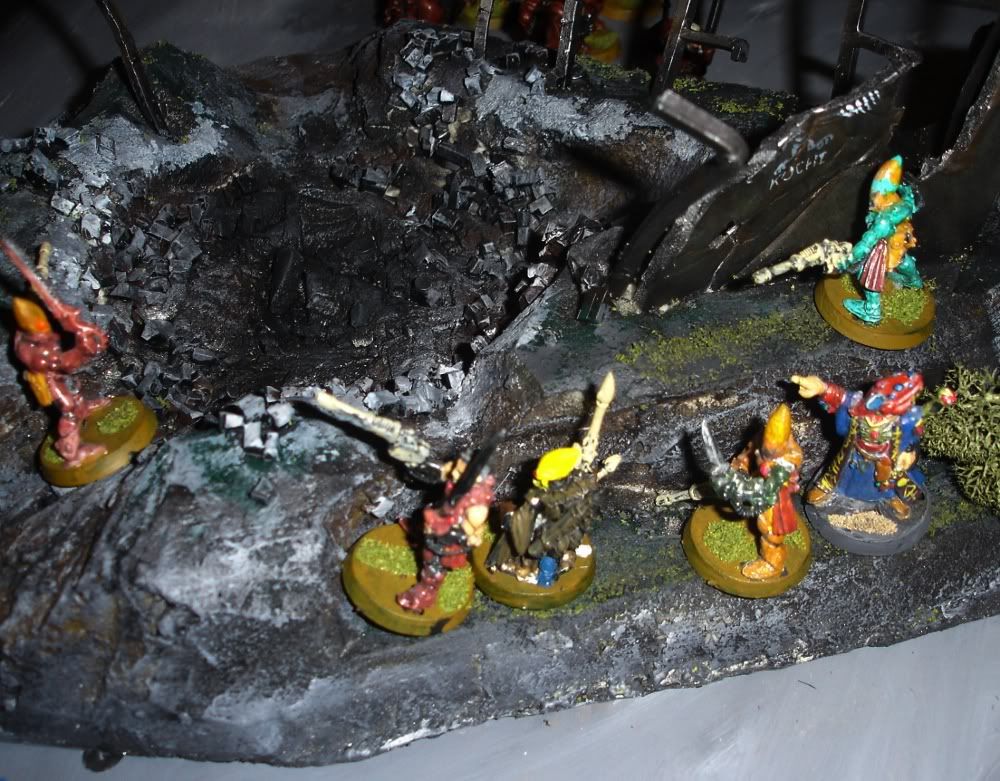
 The space marines succeeded in infiltrating their scouts into the Eldar deployment zone and massacred the Guardians. Despite Dev's best attempts, the Guardians (eventually) held firm thanks to the Farseer. The Smurf commander and the 'flamer' combat squad charged the area terrain holding the rangers. The rangers succeeded in killing two sternguard (and pinning the unit for a turn), but have to retreat to avoid the Space Marines charge. They are then set upon by the space marine commander and cronies. To their surprise, the Farseer and 5 remaining guardians charge, shoot and attack the Smurf lines (in cover) - despite the space marines hitting first, the combat is drawn.
 "Damn those crafty Eldar, they've found our cunning hiding place!"
 To Dev's continued frustration the guardians and Farseer (with a singing spear and only one attack) hold the commander and troops up for 3 turns of combat. The Farseer hits (on a 4+) EVERY TURN and the guardians manage to land 3 hits on the commander (although none wound, much to our dissapointment!) They manage to kill all the combat squad despite losing only three men. The farseer and the single remaining guardian manage to wound the commander, but he finally remembers who he is and kills off the farseer and buddy.
 "Argggh Monkeigh! Quick Guardians, charge! They'll never expect that!"
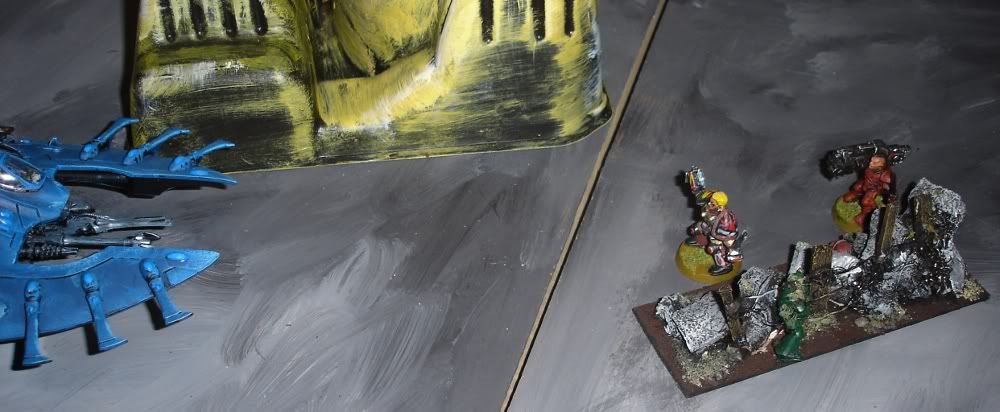
His happiness is short lived however as he discovers that the wave serpent and dire avengers have killed the scout squad, sternguard and the other combat squad in a series of hop, skips and jumps! The waveserpent has been destroyed by the missile launcher - but 5 dire avengers survive!
Final Result: 4 kill points each.
Battle Two: Orks versus Guard.
Deployment: Pitched Battle (again?)
Objective: Annihilate (are these diced loaded???)
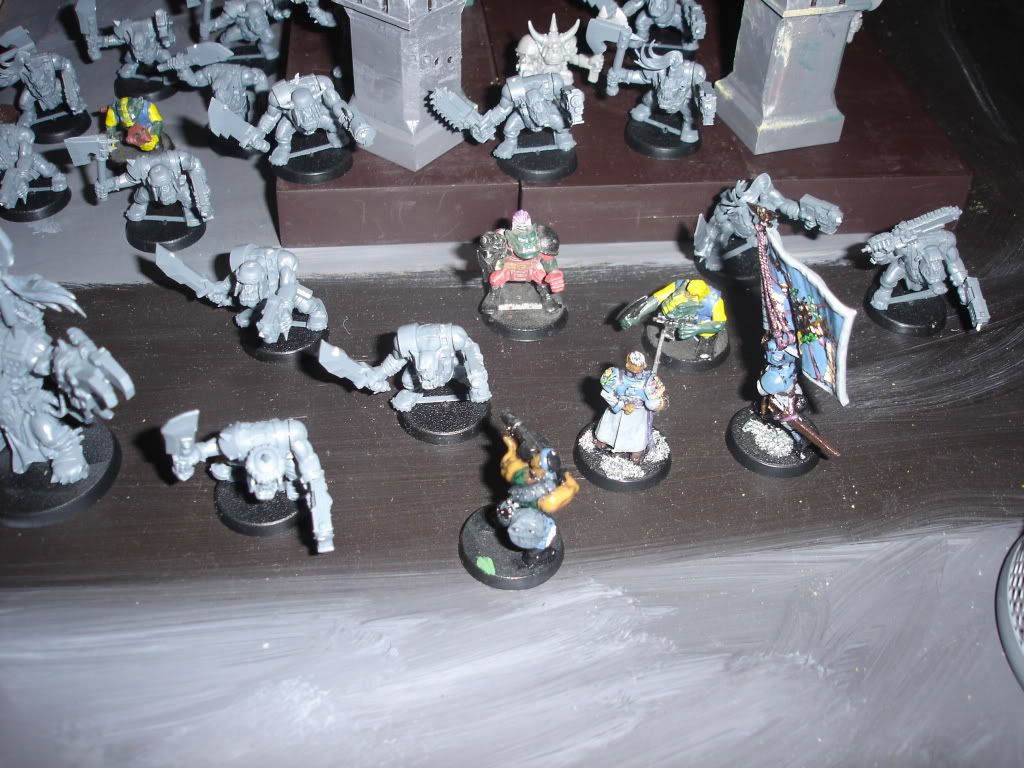
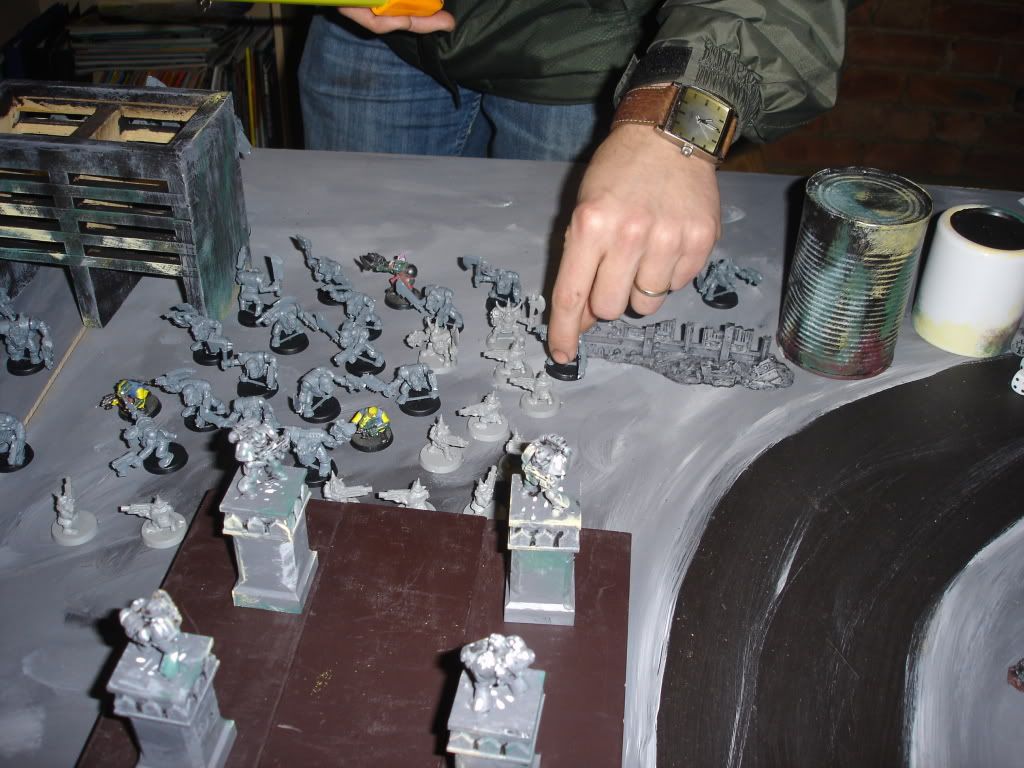 Warrrggghhh The Green ...err... gray wave of the Ork horde!
I knew I was up against it in this fight. Despite having almost equal numbers of men, those orks would mash me in close combat and I'd brought nothing but Autocannons. Just to make matters worse, the Guard are bleeding victory points all over the place, whereas the orks were fielding a paltry 5... hohum.
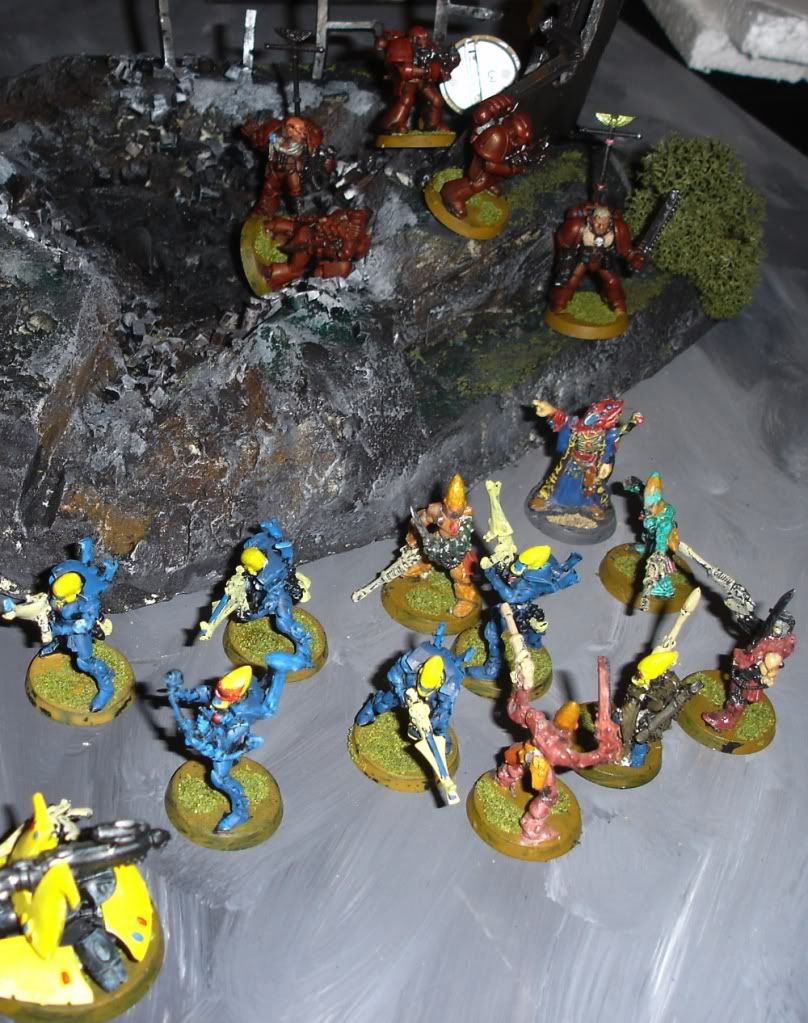
 The thin blue (and grey), victory point bleeding line (9 in total!!!?!)
I decided to range my guard units across the left flank with good fire lines. Only the Warboss could really threaten my Chimera's armour, so I kept the Armoured fist unit inside the chimera (deniance!), but poked the heavy bolter out the top. This would provide me a roving platform of 6 heavy bolter and 3 multilaser shots!
The first turn didn't go so well, with the Orks surging forwards and the Deff koptas forcing my Squad two to go to ground. They held despite 3 deaths. The gretchin bullet shield was peppered with frag grenades from the command squad, but to no avail. The rest of the firepower, the chimera (moving 12" on a road!) and the autocannon attacked the warboss and managed to strip away his nob bullet shield.
 "Kill the gretchin!" Yelled the Colonel. "They're squishy, distracting and ugly!"
As the orks approach within charge range, the injured Squad two and the remnant squad retreated towards the left flank as the remnant 3 of the command squad (deffkopta's again) charged the gretchin line. They managed to kill 5 gretchin with no comeback, forcing and failing their morale test the gretchin screen died. The Ork Boys ignored the command squad (much like boromir in 'the fellowship of the ring') and made headway towards the left flank, led by the 'denuded' warboss. The deffkoptas made short work of the remaining 3 command squad.
 The Chimera 'gunship' runs interference on the Ork Boyz.
The chimera however moved up close to the orks (12" again), making a tempting target and the other command squad and chimera managed to down a further 5 boys - not enough to shake their confidence. The Warboss charged the chimera, but failed to hit on a six with his five attacks, the ork boyz moved, Warrghhed and then charged the surprised remnant squad, hoping to drop a flamer on them next turn. The deffkoptas targetted the autocannon squad two, but only managed to kill a further two men, bringing their numbers down to four. The Ork Boys massacred the remnant easily with only one death in return.
Now was the crunch time, with make or break for the guard. The Chimera reversed and trained its guns on the wildly swinging Warboss, they'd kept him out of the fight - now if only they could finish him permanently. The Ork boys were targetted by 2 grenade launchers, 3 laspistols, 6 autocannon shots, and 21 lasguns. the boys lines were decimated, reducing the swelling 15 orks down to a bare 6. To add insult to injury the Chimera 'gunship' opened up on the Warboss and managed 2 heavy bolter and a multilaser wound. The warboss failed his multilaser wound, robbing the boyz of his much needed leadership. The boys leadership cracked and they ran, leaving a paltry deffkopta squadron to take on the might of the chimera gunship and 3 autocannons.
Final score: Guard Victory (just).
*** Edit: The Orks actually achieved a draw on kill points (1 for the officer, 1 for his retinue, 1 for the remnant squad), the Guard achieve 3 (Gretchin, Warboss and Nob Bodyguard). However the battle resulted in a 395 v 153.5 thrashing by the Guard ***
Conclusion
I was pleased with both battles. Despite a rocky start in both battles and some incredible rolling by Dev (The Ork deffkoptas managed a total of 8 out of 9 hit rate on turn one) I struggled through. Patience and 'tricksy play' like retreating and denying charges allowed me to survive long enough for 'madame luck' to reallign and to come back strong. The deployment in both cases was key, despite Dev winning the roll twice, I got to go second in both case which allowed me to deploy my forces in response to Dev's. This meant that I wasn't wasting a first turn without a target and importantly I made him run the furthest distance.
Battle One Round Up: In the first engagement, I should have placed the Eldar further away, forcing the Space Marines to engage either the guardians OR the pathfinders. The guardian and farseer assault held together under nothing but luck. However, this was more than compensated by the poor performance of the dire avengers who took 2 turns to kill the scouts (all 2 of them) and 2 turns to kill the Sternguard (all 2). The lack of low AP weaponry sucked - as Devilin made statistic defying saving throws for multiple turns.
Only by chanting "1's and 2's and 1's and 2's..." was the ridiculous terminator like invulnerability reversed! That said, I'll take a high rate of fire over low AP anyday - eventually the saves fail. I was unlucky to lose the waveserpent to the missile launcher, maybe I could have done something clever-er - but by this point I could be bothered and just decided to duke it out. He had a less than 10% chance of killing my tank (about 3.5%), so go figure...
Importantly, I forced Dev to make choices, commit his force to a charge on the rangers and then cherry pick his force using the Waveserpent. If he'd deployed second, and attempted to seize the initiative he could have deployed out of LOS of my rangers and 'castled up' forcing me to bring the fight to him with my short range weaponry... luckily I didn't have to. Circles, circles, circles.
Battle Two Round Up: I'm very pleased with Battle two. The victory was all about range and deniance. I needed to delay the Ork horde and the easiest way to do this was to offer up a 'closer' target which could then retreat. The Chimera gunship ruled. Moving 12" on a road makes guard vehicles awesome, despite the autocannon being only good for shooting the warboss, the 9 shots per turn of the Chimera dominated the board. The orks had no reply.
Dev played his Deffkoptas well, using their speed and 36" range to cherry pick off my stragglers - however without serious ranged firepower he couldn't risk getting too close to the autocannons. The Chimera would simple have out-gunned them. The battle was very close in the end, with the Orks a bare 4" from my final gunline. Thank goodness rapid fire lasgun's came to my rescue as I couldn't speed bump them any further. The Orks are tenacious, but once commited they are very vulnerable to the gunline.
With the Tau and the Guard, I'm quickly reassessing my vulnerability to 'assault troops' under 5th edition. The simple fact is that remnants and small squads are invaluable as sacrificial squad, laying the enemy open to blistering fire in the following turn. The run move makes the enemy faster, but also gives you the chance to 'get away' from the wild charge. Although my army lacked any 'stellar' unit, like his Warlord and Retinue - this also meant that the less effective Autocannons and grenade launchers did not attract the 'heat' I was expecting - which was good.
Leaderboard *** edited to include killpoints ***
Guard p1 1pts 242pts
SMurfs p1 1pt 58pts
Eldar p1 1pt -58 pts
Orks p1 1pt -241 pts
Nids p0 0pt
Tau p0 0pt
Place your bets, ladies and gentlemen - who's gonna win the tournament? Personally - my moneys on the Tau!
What do you think?