By Suneokun
Right, first battle out of the way - and the learning curve is awfully steep. As a fairly experienced Guard commander I took on the force of Tau'va for the first time. Luckily, my opponent was a complete novice at Tau - having fielded Guard up until now. The whole idea of this battle was a 'watch and learn' experience.
Facing Tau with Guard is a tough one. For starter's it's starting to get really obvious that guard are suffering with 'codex-fatigue' thanks to our codex now being 6 years old... bring on March! My opponent rolled and we had a pitched battle of annihilation - an absolute nightmare for any guard army as the kill points rules just stack up ridiculously against the old codex... oh well, here goes...
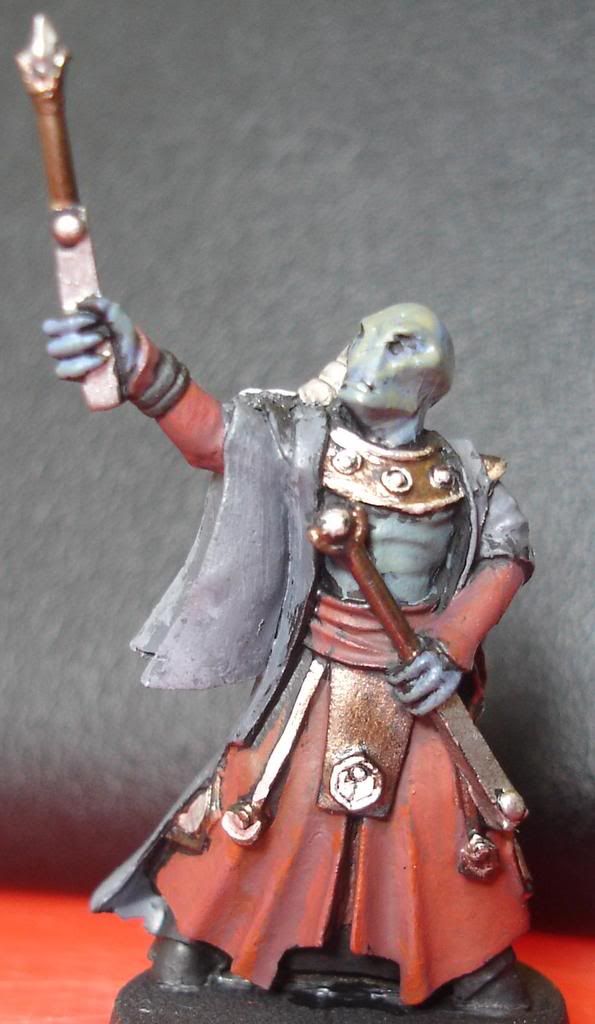
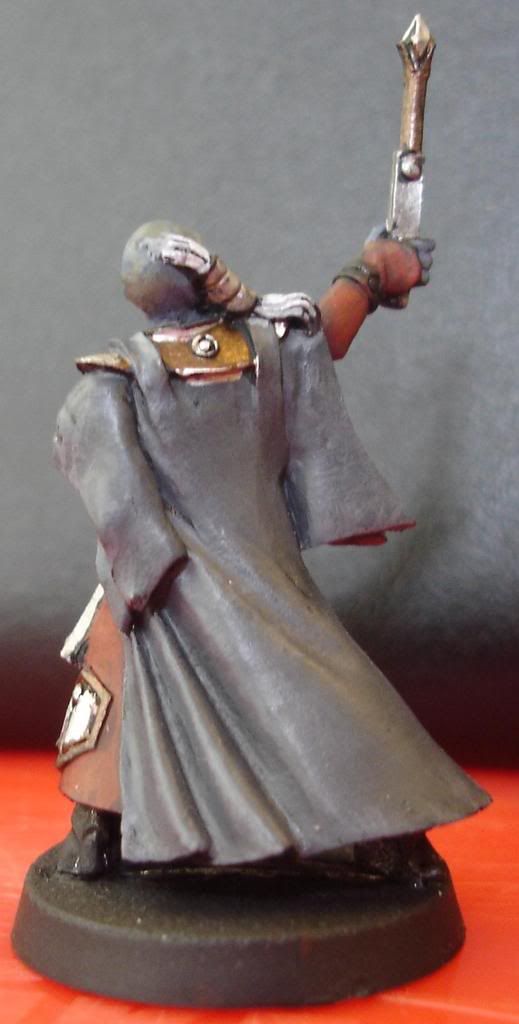
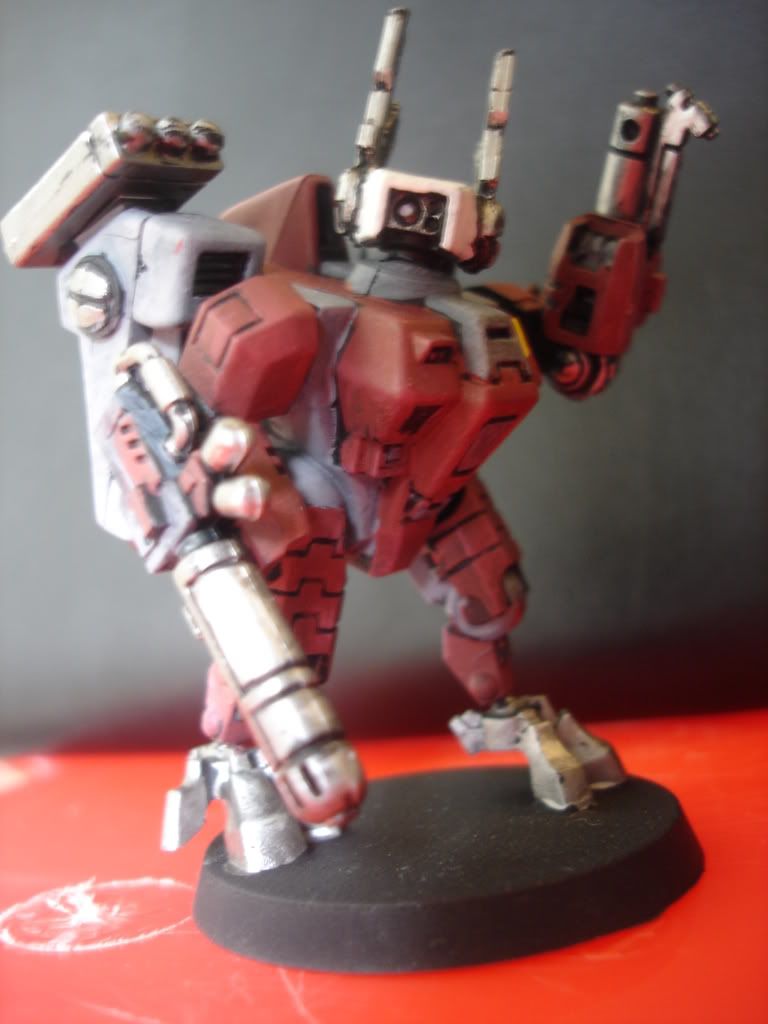
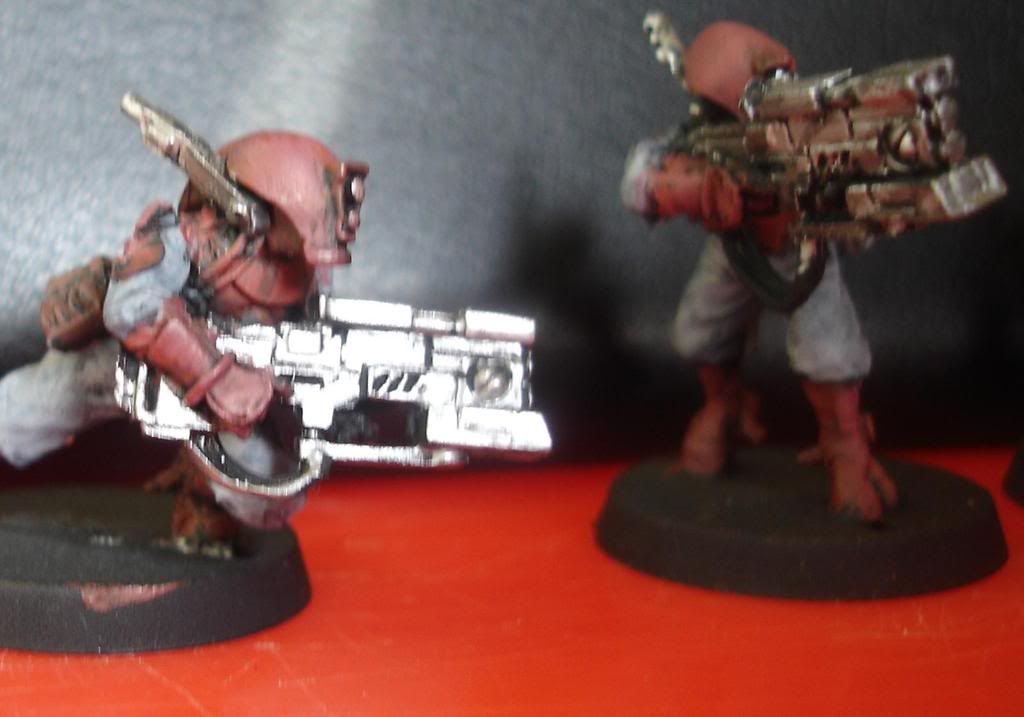
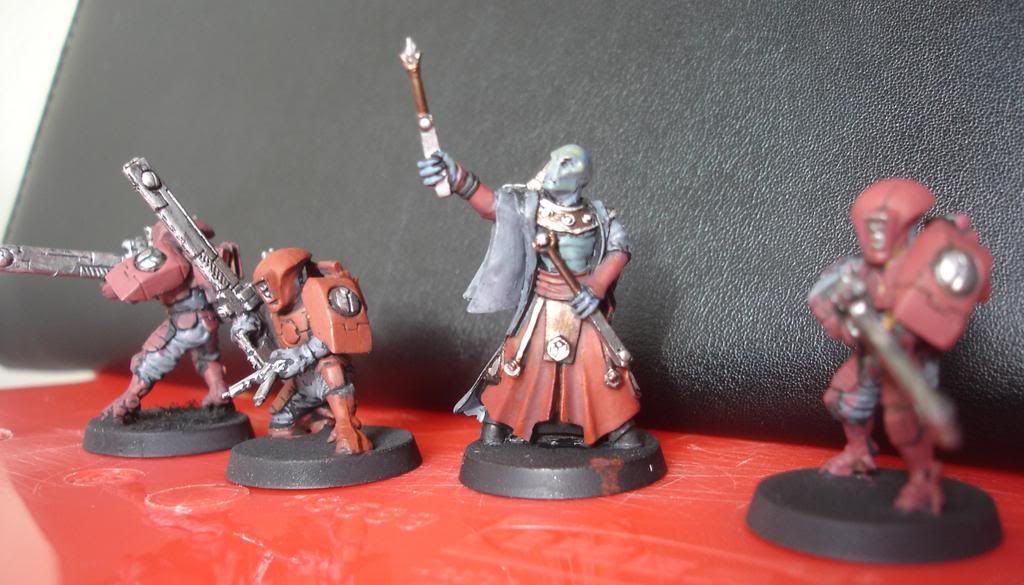
Unlike previous posting's you won't find any photo's of the battle - our camera was kaput at that time. However, I've included a map for clarity and a selection of the latest photo's of the finished Tau models and my finished Rough Rider Cavalry for entertainment!
Army lists
Kochi VI - Assault force - the concept is for an unconventional force of assault orientated guard, based around the central force of the infantry platoon and the conscript bullet shield. The tanks and rough riders will engage the tau elites while the troops make best approach to the tau. The Leman Russ will duke it out with Heavies and then join the fray.
HQ - Lieutenant with bolt pistol and chainsword, Guardsmen [3] w/ 2 x plasma, vet w/ medpack. in a Chimera w. multilaser, heavy bolter
Elites - Orgyrns [6] flak armour/ripper guns in a Chimera w/ Multilaser, Heavy Flamer, Heavy Stubber and Smoke.
Troops - Infantry Platoon - Command Squad, Leiutenant with bolt pistol, Guardsmen [4] with 2 Grenade Launchers. Two Squads with Grenade Launchers. One squad with flamer.
Troops - Conscript Platoon [20] w/ 2 Flamers.
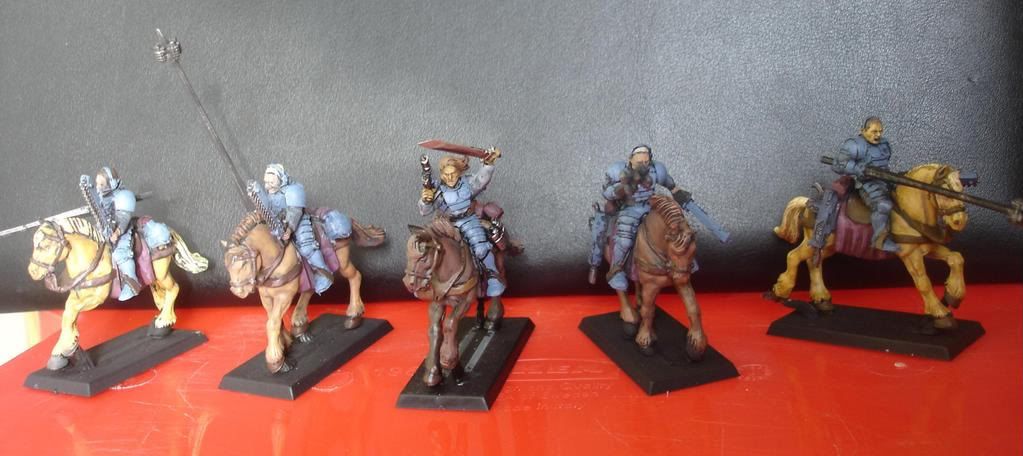 Fast Attack - Rough Riders [8] w/ Lances and lasguns.
Fast Attack - Hellhound w/ Heavy Stubber and Smoke.
Heavy Support - Leman Russ Battle Tank w/ 3 Heavy bolters, heavy stubber, smoke.
Total: 1126 points.
Tau Sept Koh'cha - Basically working with what I have, I've put together the following list. The concept is that the Broadside acts as a quasi tank with two shield drones at sv 2+/4+ inv. save. The Commander links up with one of the gun drone squads. The Twin linked fusion monat is a deep strike anti tank specialist, so hopefully between the monat and the broadside the imperial armour is finished. The fire warrior core are led from the front by the ethereal and his BS4 honour guard. The stealth team with gun drones play hide and seek.
Glossary: Targetting Array - TA: Multi-Tracker - MT: Plasma Rifle - PR: Flamer - F: Missile Pod - MP: Fusion Blaster - FB: Twin linked - TL: Hard-wired - HW: Squad Leader - SL.
 HQ - Commander Shas'El w/ TA, HWMT, PR, MP and F
HQ - Ethereal w/ Fire Warrior Honour Guard [12]
Elite - Crisis Suit Monat w/ PR, FB, TA, HWMT, SL
Elite - Crisis Suit Monat w/TLFB, Shield Generator, Stim Inj, SL
Elite - Stealth Team [6] with squad leader, 5 burst cannons, Squad leader w/ TA, fusion blaster, team with 5 drone controllers and 6 gun drones
Troops - 2 x Fire Warrior Squads [6]
Fast Attack - Gun Drones [6]
 Fast Attack - Pathfinders [4] with Markerlights and pulse carbines and a devilfish troop transport with multitracker and targetting array.
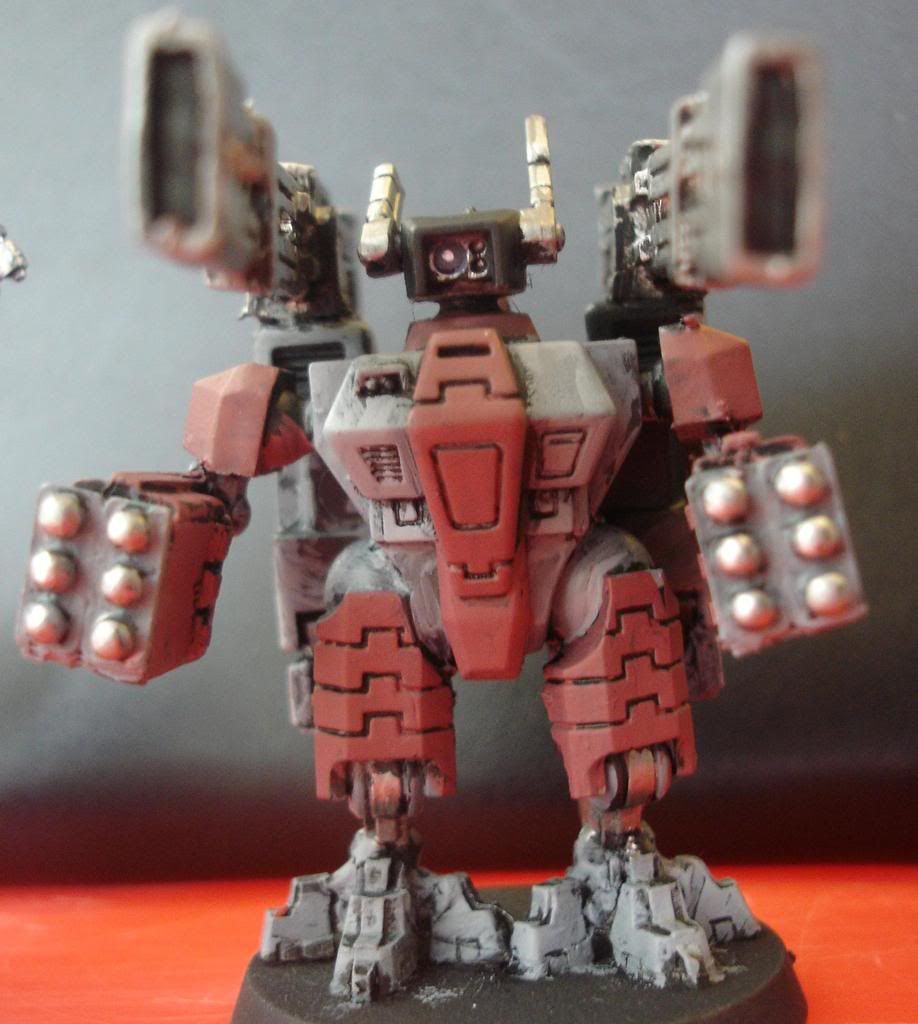 Heavy Support - Broadside Battlesuit w/ TA, SL, 2 Shield Drones.
Total: 1128 points.
NB: As per my previous blog, both sides in this force were constructed by me, as a means of best testing tactics and units against the Tau.
 Deployment: The Tau deployed first, placing it's broadside with two shield drones on the far left flank, mounted on a small hill and giving a superb view of the battlefield. This unit was backed up by the Anti tank crisis suit (with
 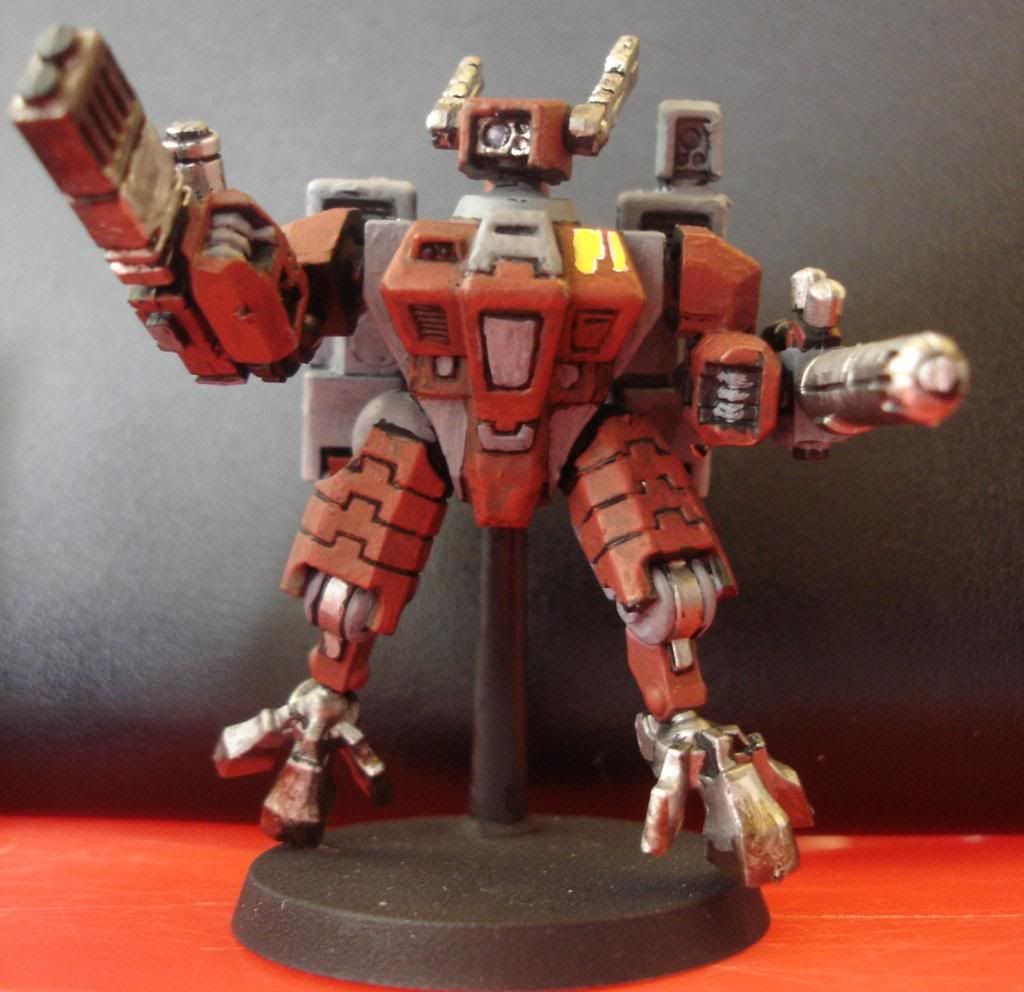 shield and stimulant injector) and the uber-squad of 6 stealth suits with 6 gundrones. This meant that one flank had over 500 pts in it - interesting... An area terrain ruin in the middle of the Tau side occupied both a 6 man Fire warrior team and 4 pathfinders with the devilfish sitting between the building and the hill. Beyond the building lay a collection of towers and cover that housed the second fire warrior team (with carbines) and the Tau Shas'El who had joined his band of six gun drones.
  The right hand flank was held by the 12 strong honour guard unit, led by the ethereal and the other plasma rifle and Missile Pod armed Crisis suit.
I decided to exploit my fire power on this flank and deployed the hellhound on the extreme right flank, while the orgyrn chimera and the leman russ nestled behind the central hill. This same small knoll shielded the platoon command squad and a grenade toting infantry squad. These units would seek to attack the carbine armed tau opposite with grenades.
Next unit to the left was the second infantry squad with a grenade launcher and alongside them the huge conscript platoon with the command squad in their command chimera. This was a first test of a 'bullet shield' approach, and my hope was for the conscripts to take the damage while my Chimera and command squad closed and put 'plasma pain' on those slippery tau (or even the Broadside - yippee!)
Turn 1: Tau. The Tau immediately, markerlighted up the hellhound! The broadside (aiming from one corner to another blew the inferno cannon off! The Etereal ordered his honour guard to target the enemy command squad and pulse fire blazed across the battlefield. The commander joined in and the command squad was reduced to just the lieutenant - who ran! Unlike his Ethereal, the right hand Crisis Suit had detected the smell of horse droppings and fired into the Rough riders - but their cover save meant that only one model died. Shooting in the centre was ineffectual. Meanwhile on the left flank, the stealth team unleased a lethal torrade of fire on the conscripts - killing 10. Ld was passed. All crisis suits and stealth teams snuck back behind cover.
Turn 1: Guard. With a roar of engines and a whinny of horse parts, the right flank surged forward. The Leman Russ battlecannon shot at the commander but scattered, however the rough riders suceeded in a 5" move and engaged the Ethereal and Fire Warriors opposite. The total of 12 non saving hits proved too much for both the fire warriors and their fearless ethereal - who promptly died! Flinging their splintered lances to the floor the rough riders consolidated and drew their chainswords - looking for more victims. The Orgyrns Chimera also burst forward and deposited 6 Orgyrns and popped smoke - forming a screen for both the abhumans and the leman russ behind. The Guardsmen in the centre snuck around to the left to try and engage the building full of Tau. On the left flank, the guardsmen unit targetted the devilfish while the conscripts ran and the chimera poured shots into the stealth team - killing two gun drones.
Turn 2: Tau. The Tau on the right flank - now isolated by 8 horsemen jumped out and killed another with his plasma and fusion combo. The markerlight hits were wasted as the smoke confounded the shot from the broadside, so the commander led his gun drones in peppering the side of the tank - causing two penetrating hits and three glancing. The tank disintegrated in a blaze of debrid - wounding a ogryn and killing another rough rider. The central fire warriors managed to pin the squad going around the hill. On the left the devilfish and fire warriors continued to pound the guardsmen, killing another - while the crisis suit jumped left and took pot shots at the chimera side. He failed however, and the stealth team with 4 gun drones showed him how it was done - wrecking the chimera (with the team leader target lock fusion blaster) and killing a further 7 conscripts - miraculously the numpties held... The "tank killer" crisis suit decides to stalk right - making for the juicy tanks...
Turn 2: Guard. Orgyrns charge the Shas'El and the gun drones - while the rough riders surround the right flank Crisis suit. The Orgyrns only achieve 4 kills on the charge (poor rolling) and the commander and gundrones manage 2 wounds on a model - the commander passes. On the right flank, the rough riders manage no wounds, but the crisis suit kills a horsey in return - no fair! Still they pass their ld test. The hellhound rushing forward and shielding the Leman Russ that stuns the devilfish. On the left, the guardsmen behind cover make a break for the command squad and the conscripts bravely flame then charge the broadside. They manage to kill a shield drone!! The command squad is hot of their heels, but out of range with the plasma (13").
 Turn 3: Tau. The Crisis suit on the right holds out against the rough riders for another turn, but loses a wound, he kills another horse though, bringing their numbers down to four. The Commander succeed in killing of one Orgyrn and wounding another, but the Orgyrn manage to kill off another two gun drones - the Shas'El looks vulnerable. The tank killer Crisis suit takes a pop at the hellhound but fails and hides behind a building. The tau fire warriors fire on the guardsmen - but fail to hit (thanks to their increased cover save) being pinned.
Turn 3: Guard.
Again the battle betwene the rough riders and the crisis suits is a dead heat with no kills. The Orgyrns polish off the commanders gundrones - but fail to wound him! In the centre the squad attempt a cunning charge and kills the anti tank crisis suit! Finally a bit of Hand2hand luck! On the right, the combat continues between the conscripts and the Broadside with the conscript losing another man - but passing their leadership. The command squad unleash the cunning plan called 'plasma death' on the stealth team and kill 4 gun drones... oh dear.
Turn 4: Tau. The fire warriors in the centre - without a target decide to help their commander. They charge into combat! Subsequently the Ogryn's remember what they are good at and kill all six before they can make a single attack - the Shas'El suffers a nervous breakdown (at Ld - 6) and runs off the board! The rough riders finally jam their chainsword into enough Tau armoured orfices and knock off the Crisis Suit on the far right allowing them to consolidate. The conflict between the Broadside and two conscripts results in another conscript being stamped on, but again the final fella holds! The stealth team show the command squad how to shoot by killing every last one of them (twice over) in a pulsing blaze of death! The remaining fire warriors and pathfinder in the centre target the 'Crisis killer' squad, but fail to hit and prepare to target the Orgyrns.
Turn 4: Guard. The remaining 4 Orgyrns and 4 roughriders run up behind an armoured balwark of hellhound and leman russ. The Lemon Rusk fails to spot the stealth team - so cannot take a juicy shot at the stealth team and broadside (oh and conscipt - oops!) on the hill. The hellhound is equally ineffective, but does kill a pathfinder. The remaining guardsmen in the centre charge the fire warriors and pathfinders in the building but are beaten back mercilessly (must remember frag grenades). The broadside finally squishes his conscript tormentor.And so the game ends (at 1am?!?) - with the following roundup.
Conclusion - frag grenades, power weapons, more tanks, more AP3, AP2 and AP1 weapons (anti battlesuit etc.)
Right flank - mine: with 4 roughriders, 4 orgyrns, a Leman Russ and a damaged hellhound.
Centre - 3 pathfinders and 5 fire warriors.
Left flank - 6 guardmen (cowering) with a grenade launcher, a broadside battlesuit with shield drone, 6 stealthsuits with 2 gundrones and a stunned devilfish.
Guard killpoints: six
Tau killpoints: four (six if transports count)
So either a marginal win for the guard, or a draw. We both agreed it was a draw - but who would win the next round - that's over to YOU!