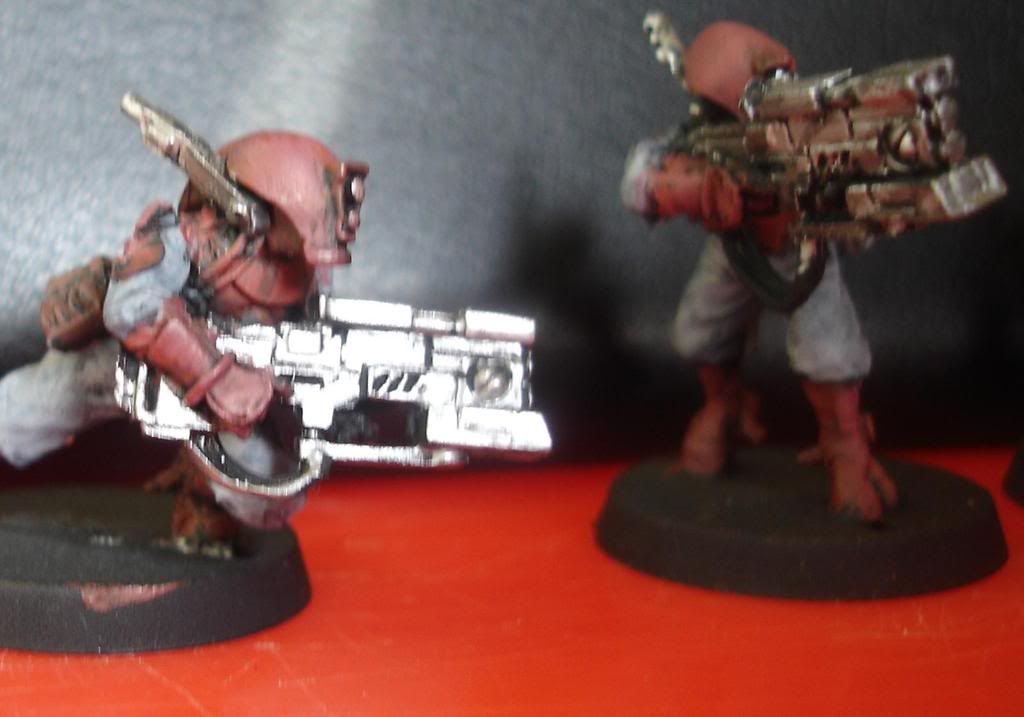
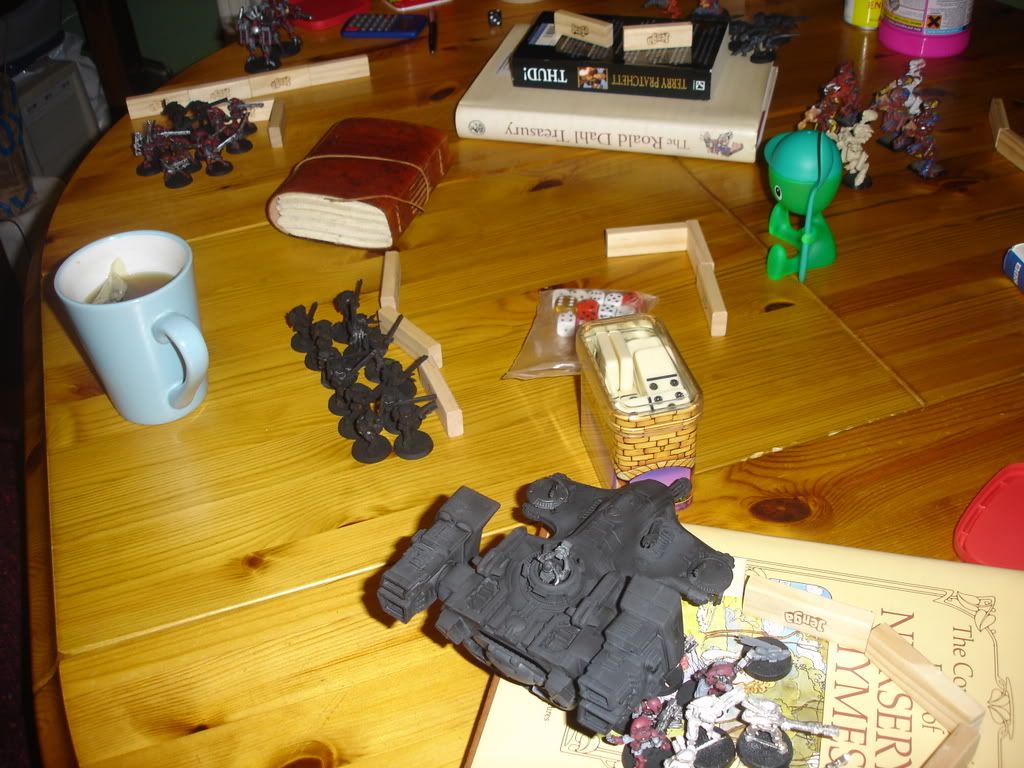
The two WIP armies go toe to toe on the dining room table. It's Tau firepower versus the scuttling nastiness of the 'nids! Feels very 'Alien' doesn't it - where's Ripley? (In Derbyshire, UK - Ed.)
This was a cracking fight which went right down to the wire with some fantastic twists. All Seven turns (yes Seven!) completed before midnight - come on!
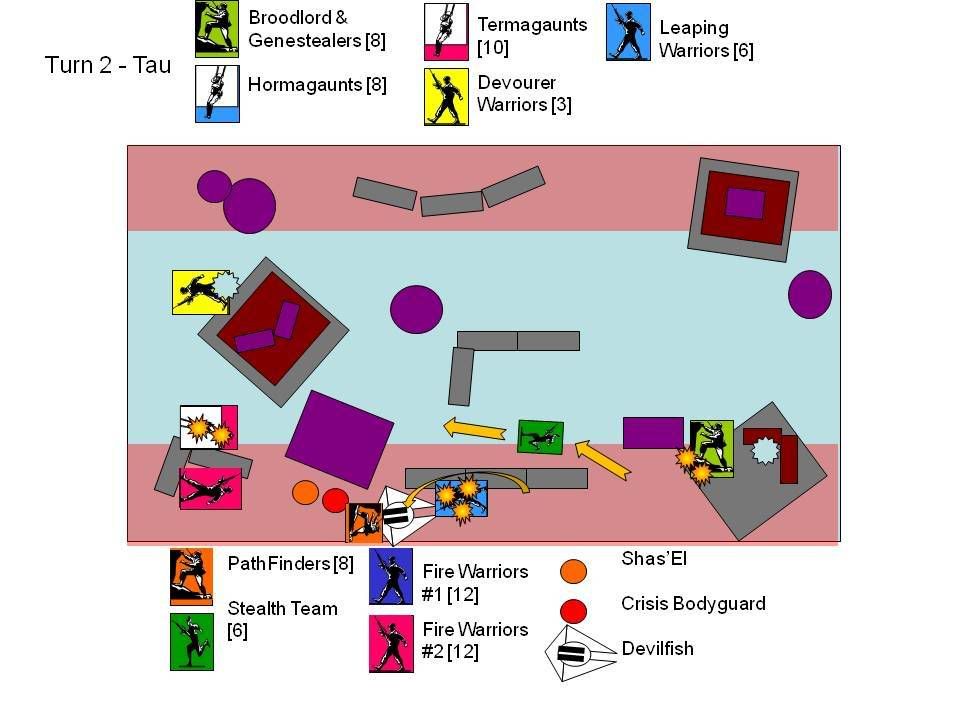
Game: Capture and Control
Deployment: Pitched Battle
Due to the narrow board, we decided to exclude flanking - mainly because this would mean the broodlord would dominate the game.
Lists
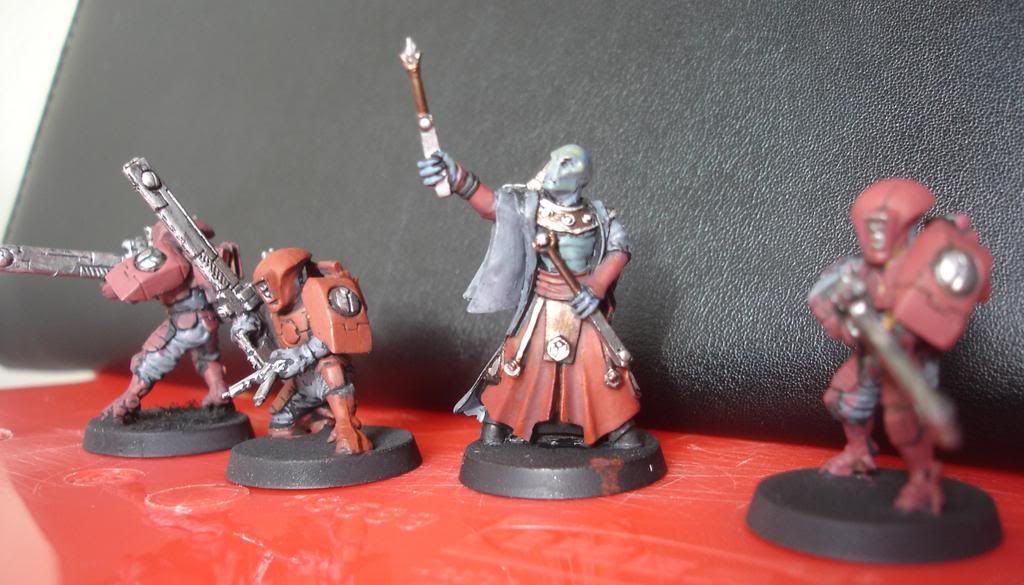
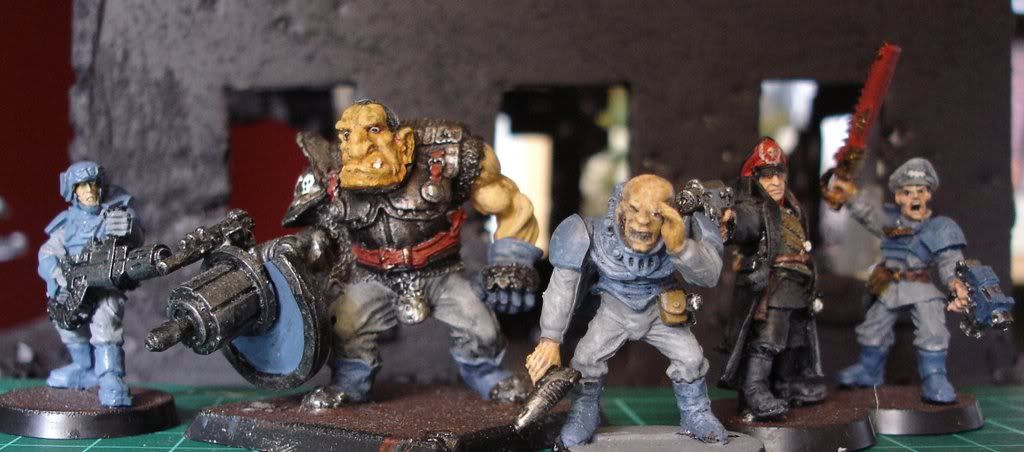
Tau
- Crisis Suit Shas'El: Plasma Rifle, Missile Pod and Flamer, Hard Wired Target Lock, Hard Wired Multi-tracker.
- Bodyguard Shas'Vre: Fusion Blaster, Plasma Rifle, Multi-tracker.
- Stealth Team [6] - with targeting arrays.
- Fire Warriors [12]
- Fire Warriors [12]
- Pathfinder Team [8] with 6 carbine markerlights and 2 rail rifles, Devilfish
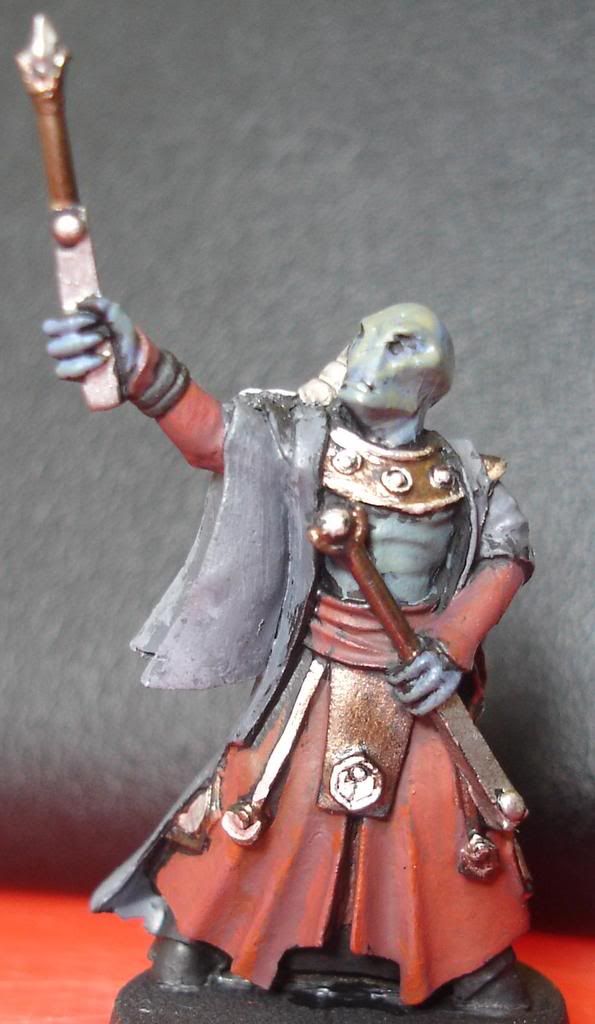
- Broodlord with Flesh Hooks and Extended Carapace and implant attack.
- 8 Genestealer Brood with Flesh Hooks and Extended Carapace.
- Tyranid Warriors [3] with toxin sacs, devourers, enhanced senses and Scything Talons.
- Tyranid Warriors [6] with Extended Carapace, rending claws, flesh hooks, deathspitters and leaping.
- 10 Gaunts with Fleshborers, scuttlers and without numbers.
- 8 Hormagaunts with flesh hooks and toxin sacs.
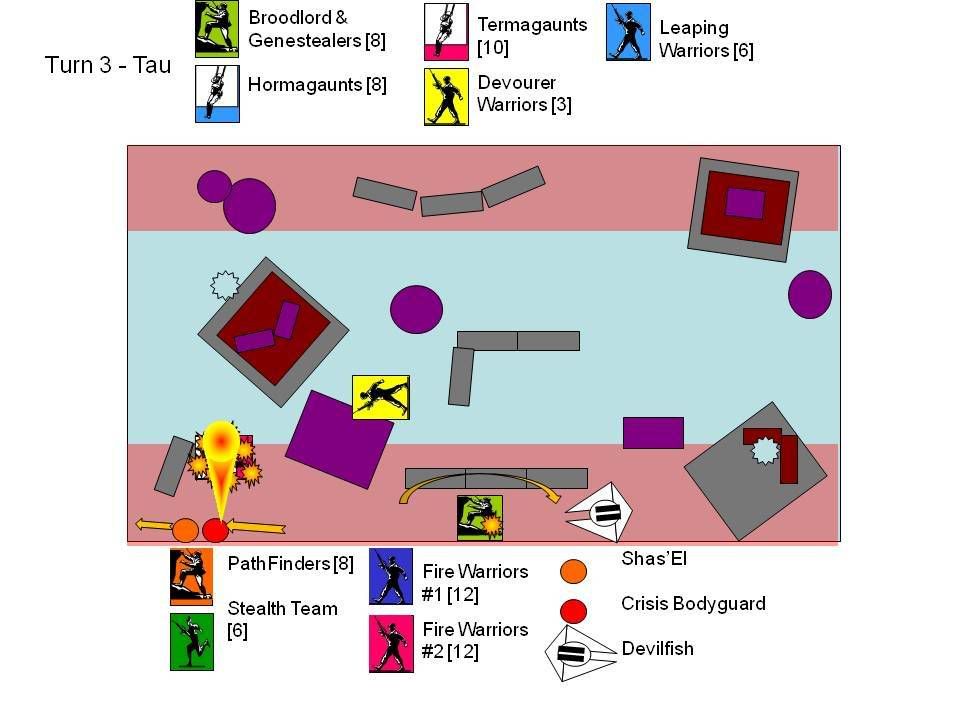
 Deployment - The Tau formed up a strong gunline of the two fire warrior squads and the pathfinders. Between these less maneuverable squads the Stealth teams anti-swarm fire power would enable quick redeployment, while the plasma and missile pods of the command squad went to see off bigger beasts. The Devilfish set up in a supporting position to the Pathfinders, giving them a quick 'out' if required.
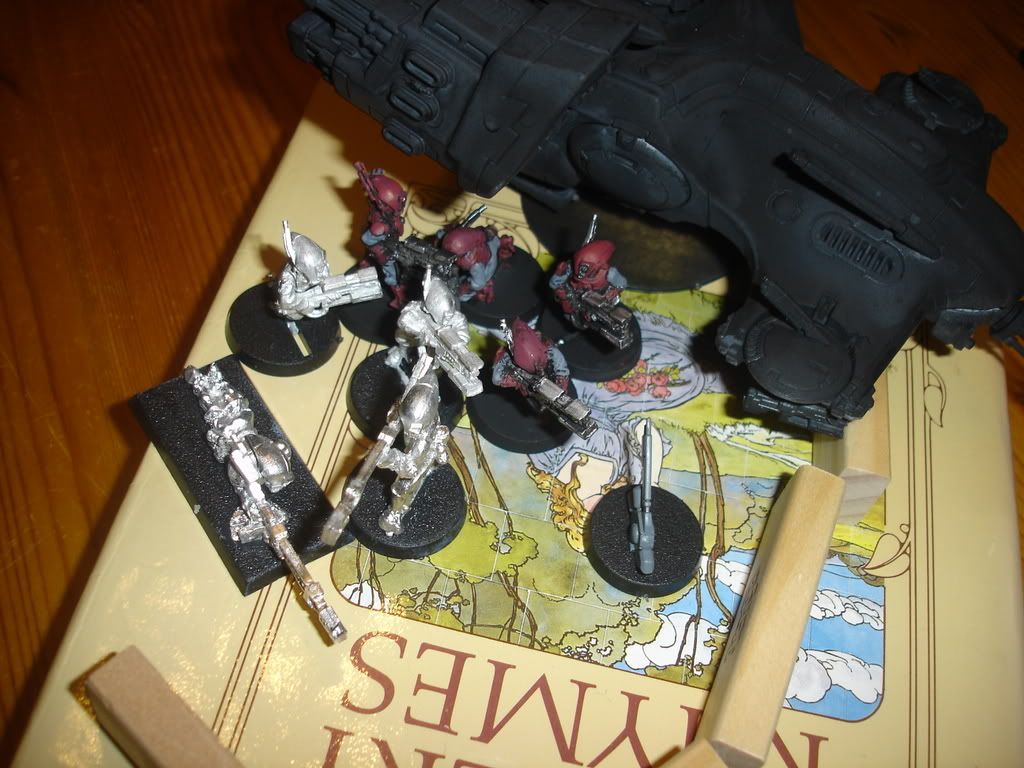
For the 'Nids
 , I had learnt from my previous mistakes against Dustin Tau and (confident of the first turn) deployed my Nids as close to the enemy as possible. I might catch the Pathfinders napping with my broodlord and hormagaunts. Unfortunately, my opponent saw this move coming and used their pathfinder scout move to inch out of potential charge range.
Turn 1: The
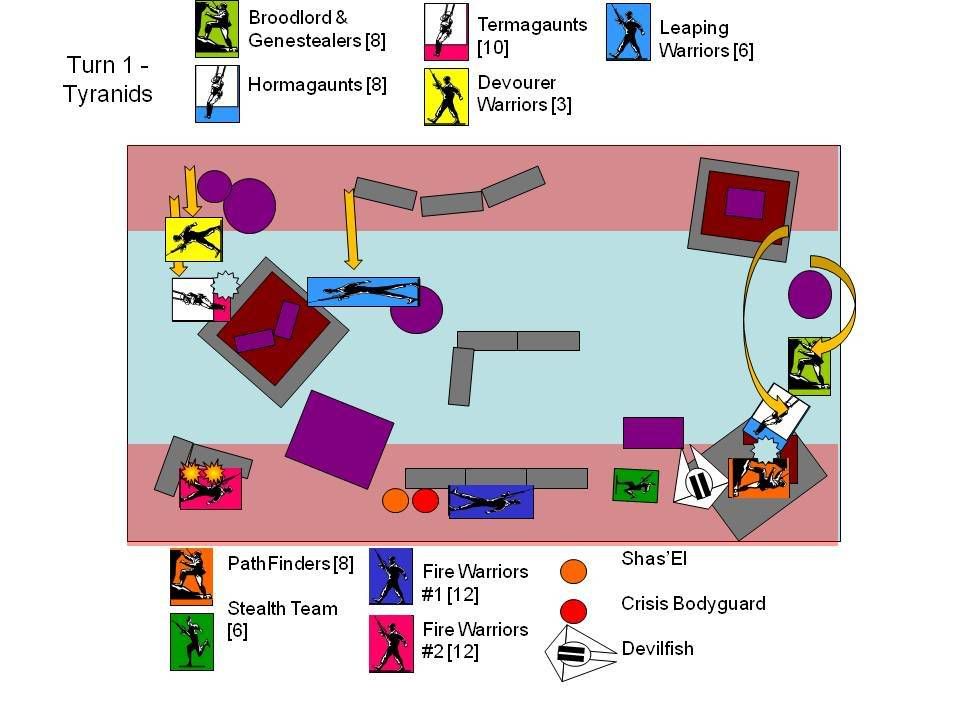 Tyranids whole flank moves and runs or charges. Despite an impressive 12" leap, the hormagaunts miss the Tau by a few bare millimetres. The genestealers move up behind the leapers and hide behind the hill and lick their lips for the next turn. The Hormagaunts are left hanging, but I'm reasonably confident at least some will challenge for the next round. On my right flank, I run my Termagaunts carelessly forward and open fire with my Augmented Senses Warriors. The 12 devourer shots hit a total of six times, but the rerolls for it's 'living ammunition' cause 6 wounds, killing four Tau!!! I like this gun, like a shuriken catapult on bladestorm every turn! Unfortunately the pesky Fire Warriors pass their leadership test.
The T
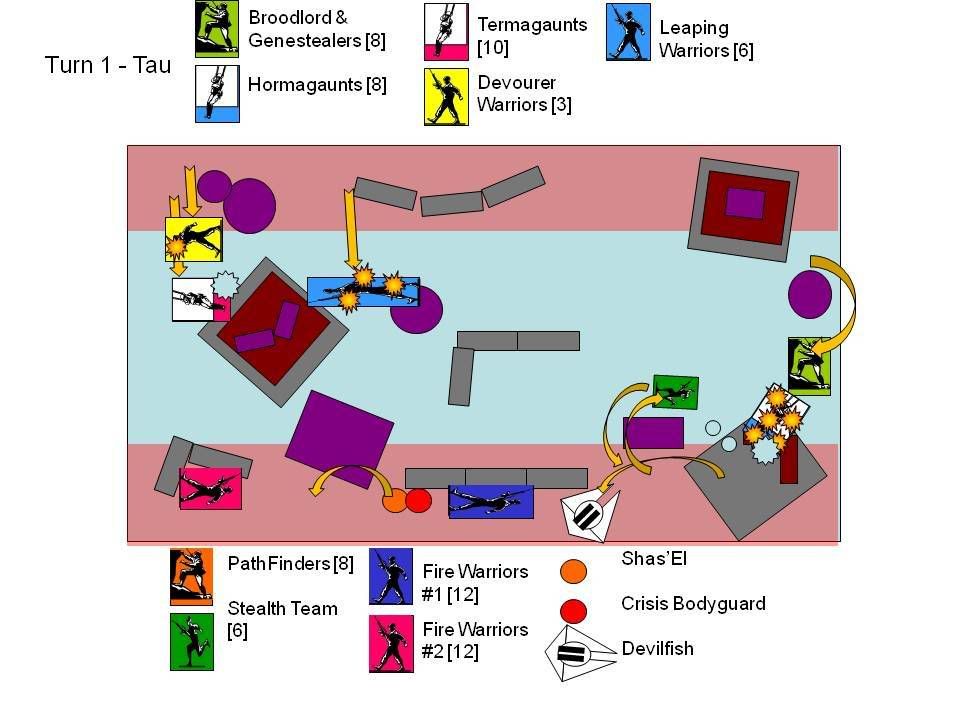 au Respond in a typically fire power orientated fashion. Some crafty maneurvering on the right allows the pathfinders to jump inside their devilfish and move back, while the tank releases its gundrones as a pair of close combat sacrifices. The Stealth team jump forward, and between the gundrones, six stealthteam and the burst cannon on the devilfish - the hormagaunts are wiped out!
  Meanwhile the fire warriors in the centre and the command crisis team line up the tyranid warriors in the centre. Devastating fire power kills 3 warriors and wounds a fourth one. Three warriors struggle from the cover despite their carapace and cover. On the Tau left flank the other 8 fire warriors target the devourer warriors in an attempt to break up the fearless march of the termagaunts, whether their mettle was shaken by the devastating devourer fire we'll never know as they only managed to wound one tyranid.
Turn 2:
 The Genestealers surge up the hill and thoroughly slaughter the gundrones, despite their vulnerability, I commit them into the open, trusting to their 4+ extended carapace and the surprise I've planned for the middle. The three surviving Tyranid Warriors armed with deathspitter in the centre shake off their pretentions of ranged combat and commit a leaping charge into the middle of the Tau fire warrior ranks! Despite only one 6, they kill over 6 fire warriors for no reply, this shattering combat proves too much for the stalwart 'bluies' and they are massacred as they attempt to flee... woohahaha! Meanwhile the termagaunts on the left attempt the same trick, fleeting and charging towards the fire warriors. Unfortunately they only manage 3" in running - so their
 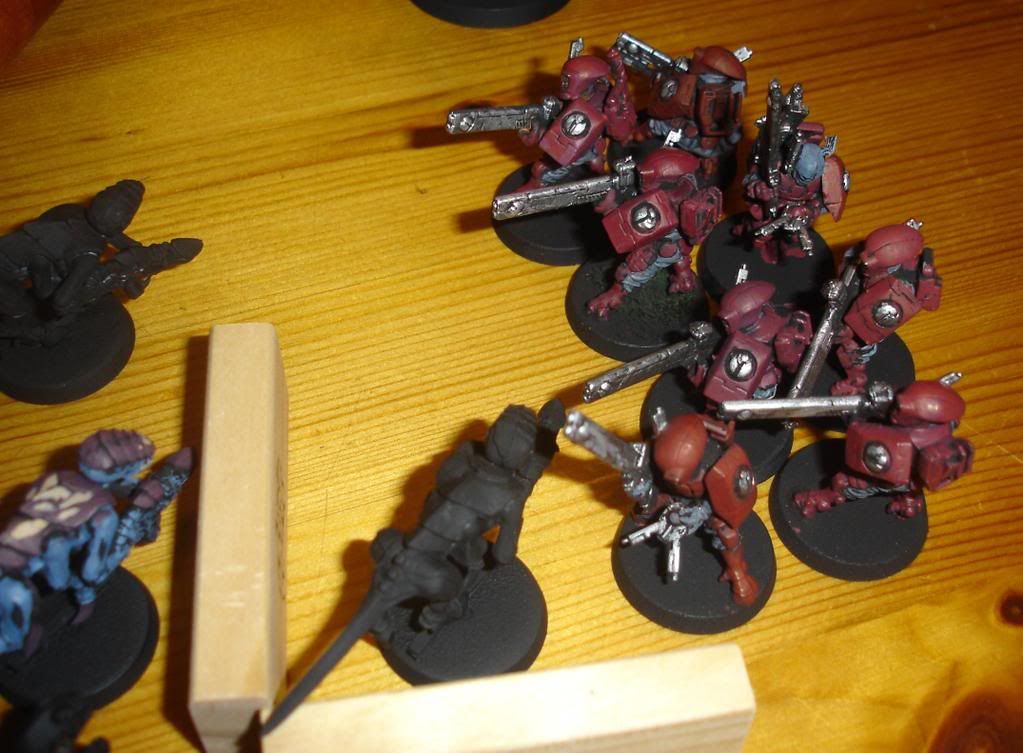 charge is brought short mere millimetres from the worried looking fire warriors. The Devourers splutter their firepower again and manage a further couple of kills.
The Tau
 are up against it with their backs against the walls. Permeated by light troops to the left flank, they are skidding back from the broodlord's retinue on the right and with wickedly lethal Tyranid Leapers in the middle. The Tau Devilfish executes a dazzling maneuveur, jumping over the feasting Tyranids in the middle and forming a fragile fire wall on the left flank with the tank foremost and the pathfinders disgorged behind it (next to the command squad) in a bizarre 'fish of fury' move. The combined firepower of the tank and pathfinders fails to down the warriors (thanks to their extended carapace), and it requires all their shots to down them. Meanwhile the stealth team is carefully retreating across the board firing fussilade after fussilade into the Genestealers. I suddenly realise that thanks to their move-fire-move jetpack ability, my chance of catching them is slim to nil... This ponder occurs to me as a further two genstealers are downed (thanks carapace!)
On the left flank the fire warriors decide not to charge and fire on the gaunts at point blank range - killing only four despite no cover save. The Tyranid Warriors behind enforce their steely Hivemind grip and the slavering Gaunts hold. Pretty decisive shooting, but was it enough.
 Turn 3 - Trusting to the fact that the Gaunt's lack of survival was part of the plan, I hastened my devourer warriors into a pincer maneurver. Charging across the hill (thanks move through cover) the Warriors opened fire with their devourers.
 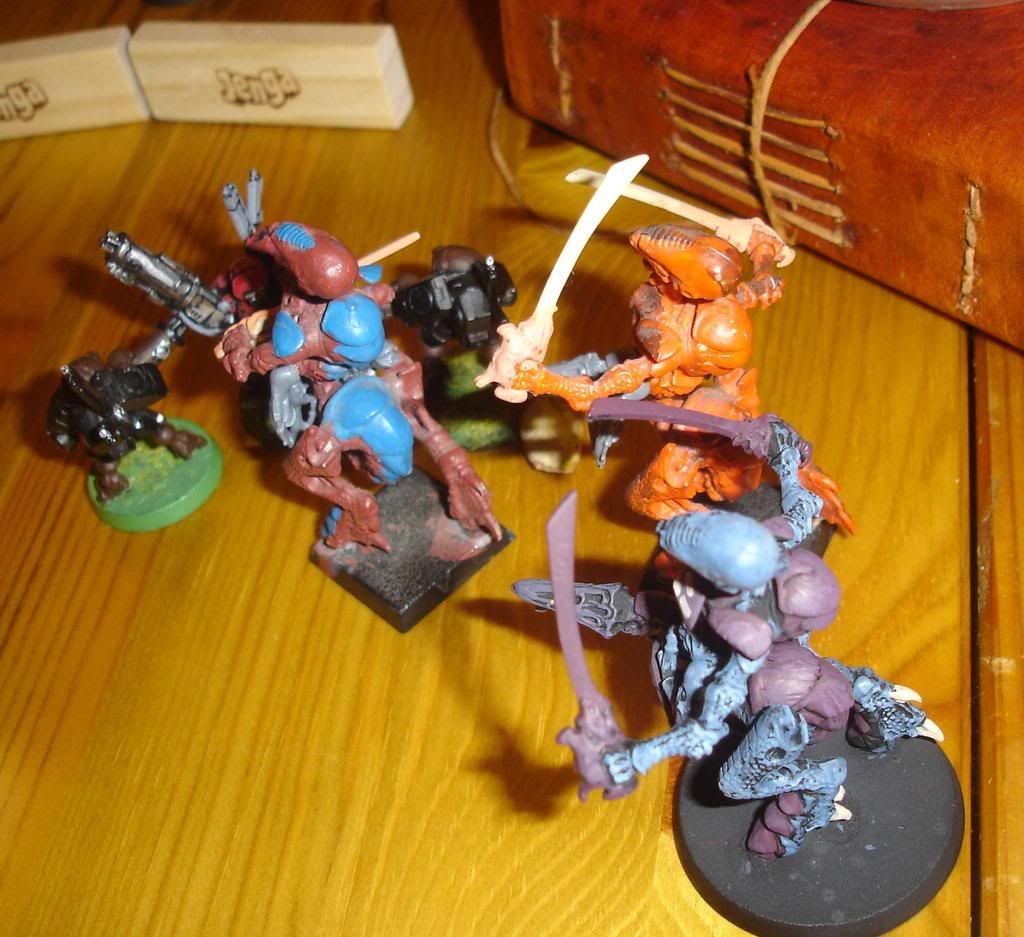 A stunning set of shooting forced 8 saving throws and 3 stealth warriors fell. I was further impressed as the Tyranid Warriors piled into combat. With scything talons and 4 attacks each they killed every last stealth team.
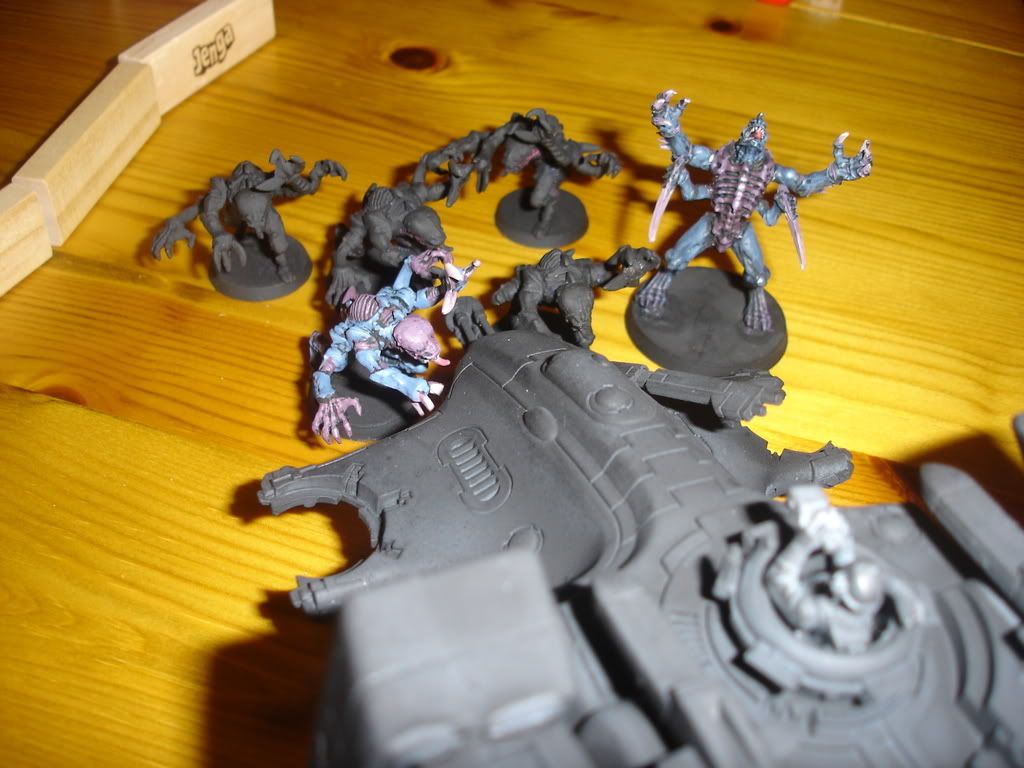 On the left, the gaunts fired on the fire warriors and then charged - causing a total of 4 wounds before the Tau could retaliate. The remaining 2 Tau buckled under pressure and routed, leaving the left flank in my hands. Meanwhile the Genestealers were left clear to pound across to the Devilfish which, thanks to it's size, was just in charge range. Then the gods of 'luck and roll' played a hand, despite a total of 5 s5 rending attacks and 15 s4 rending attacks, my genestealers needed a 6 to hit (as the vehicle had move over 6"), managing only one, I needed a 6 for rending. 20 hits resulted in no kills.
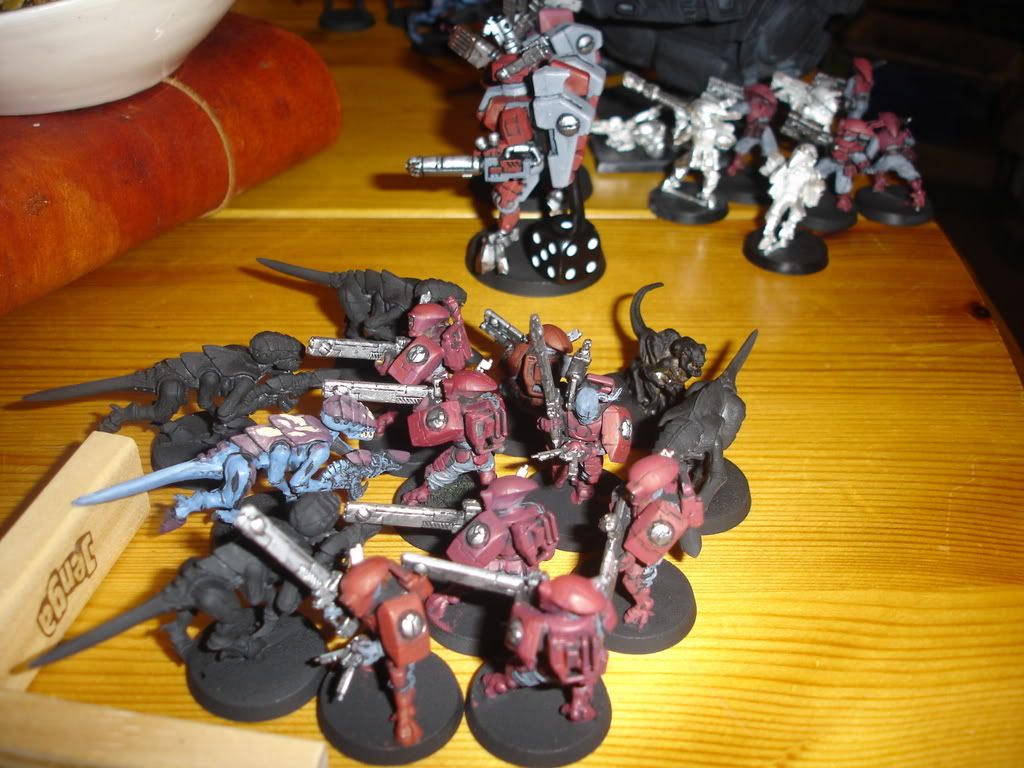
 The Tau responded with efficiency. The pathfinders jumped back in their devilfish and taking discretion over valour soared over the Stealers head and moved 12" across the board. The crisis suits meanwhile broke left and made quick work of the Gaunts with flamer and plasma. (Right into my little trap - hehehe!) The Tau were on the ropes, with a HQ option cornered and a pathfinder team on the run ... it was only a matter of time. They couldn't win through claiming - only draw. And then...
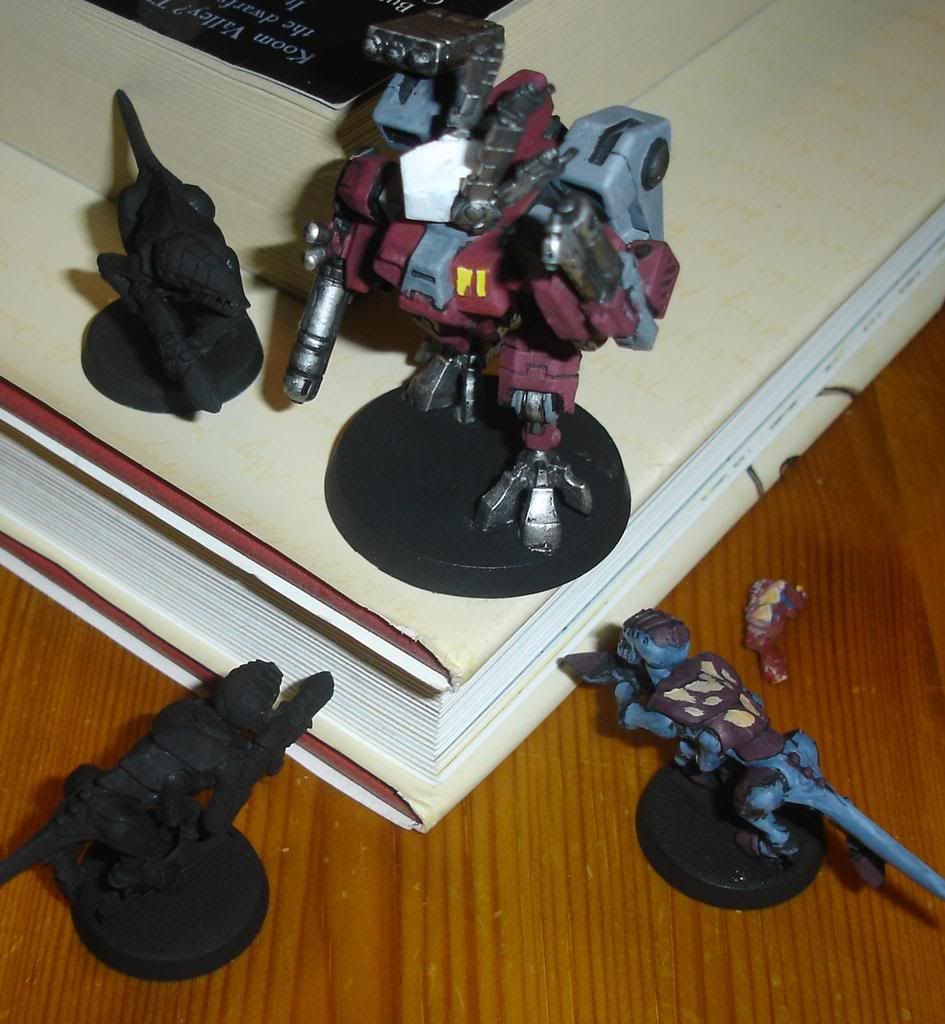
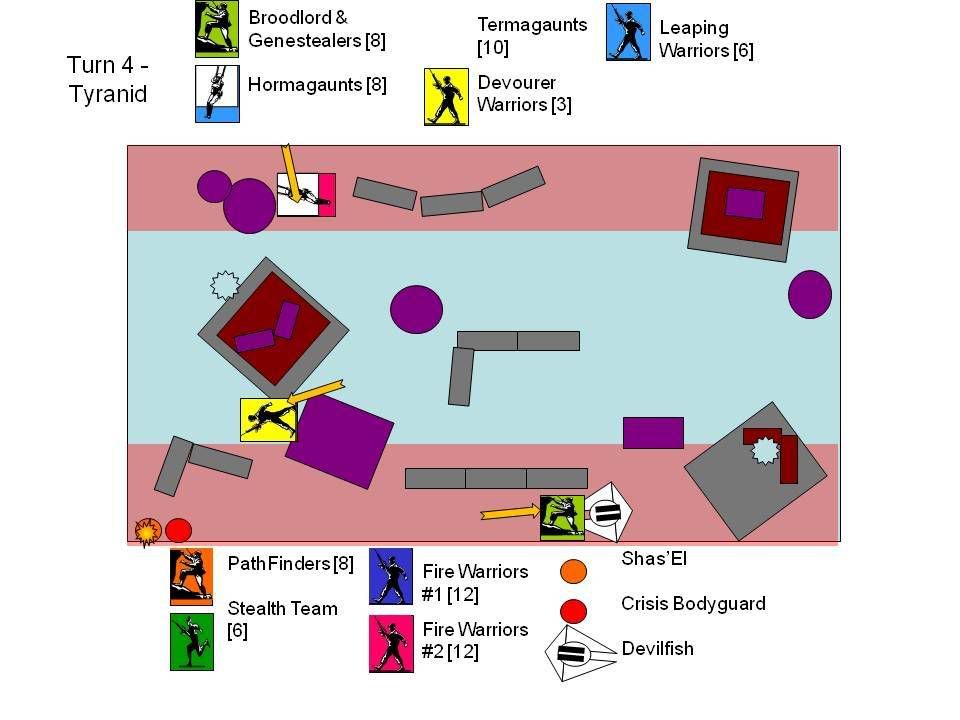 Turn 4: The Gaunts trotted back on the board and made posthaste (with a ld test of<5). style="margin: 0px auto 10px; display: block; text-align: center; cursor: pointer; width: 213px; height: 159px;" src="http://i302.photobucket.com/albums/nn107/suneokun/DSC02938.jpg" alt="" border="0">Get ready to fire!
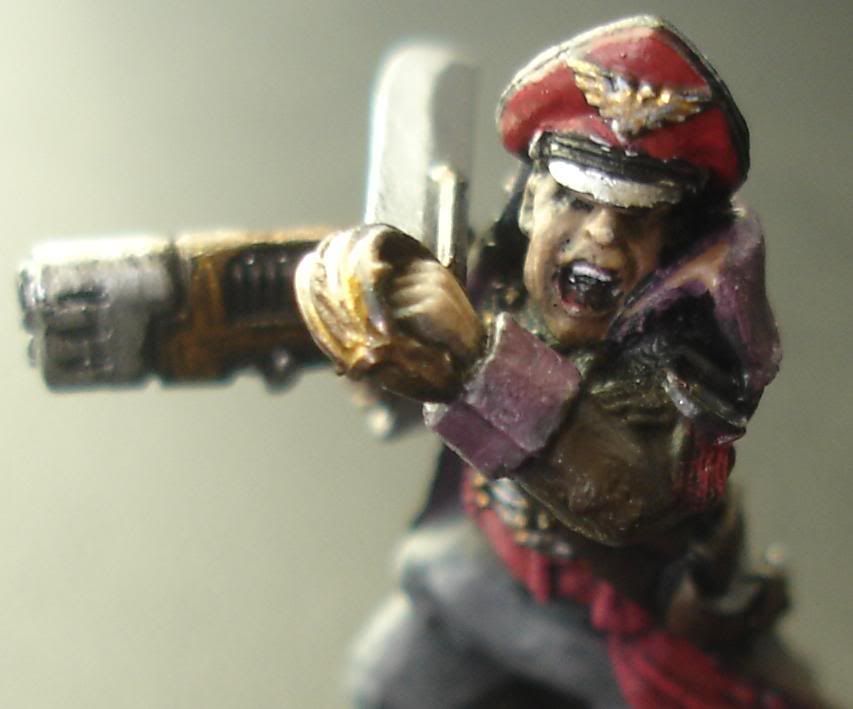
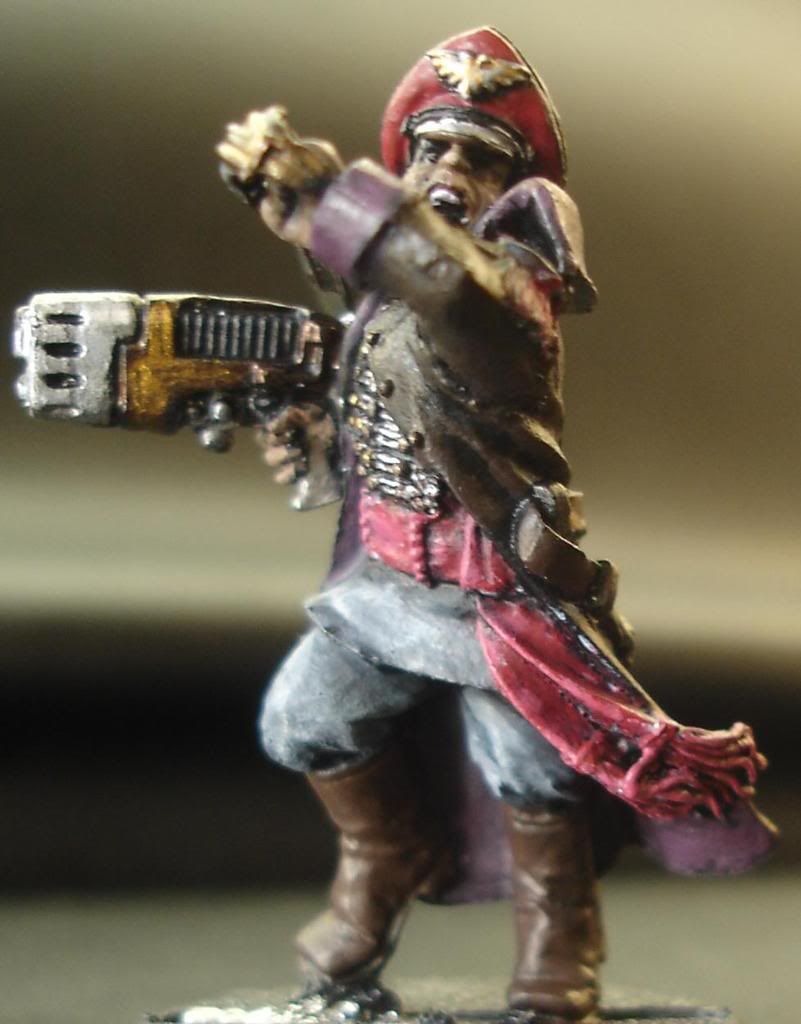
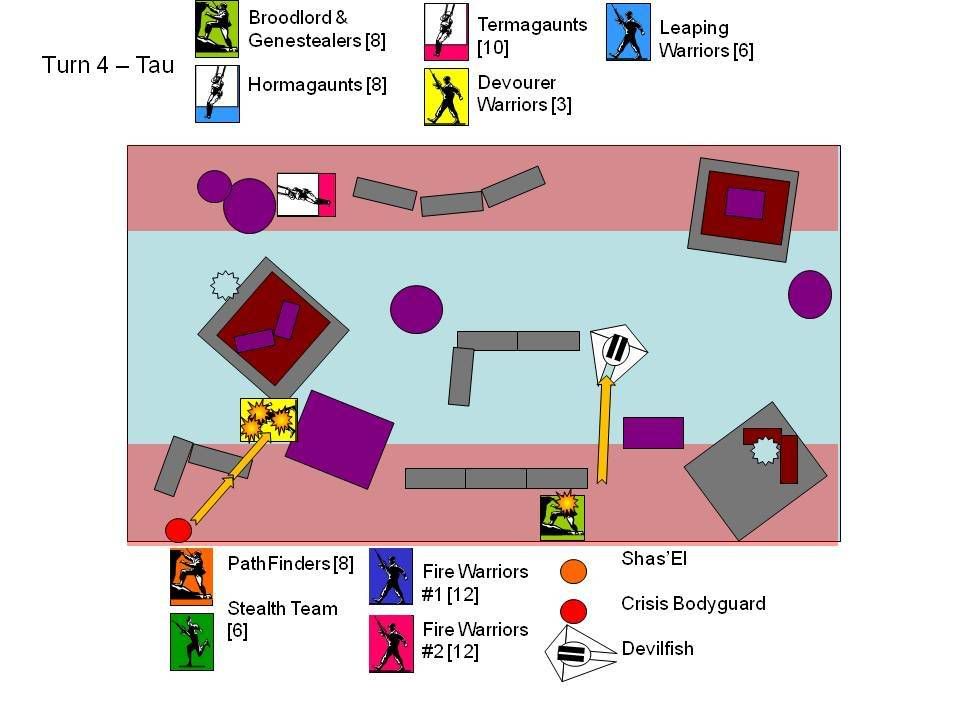 It was do or die for the Shas'El. Locking and loading he fired his flamer and missile pod and stormed into close combat. Despite his lack of weapon flamer he flamed the wounded Warrior to death and managed to kill another, sustaining only a wound in return. The Tyranid Warrior and the Shas'El remained locked in combat. The devilfish moved a further 12" and opened fire on the genstealers, killing the final brood bodyguard. The Broodlord grimaced and prepared for a final charge.
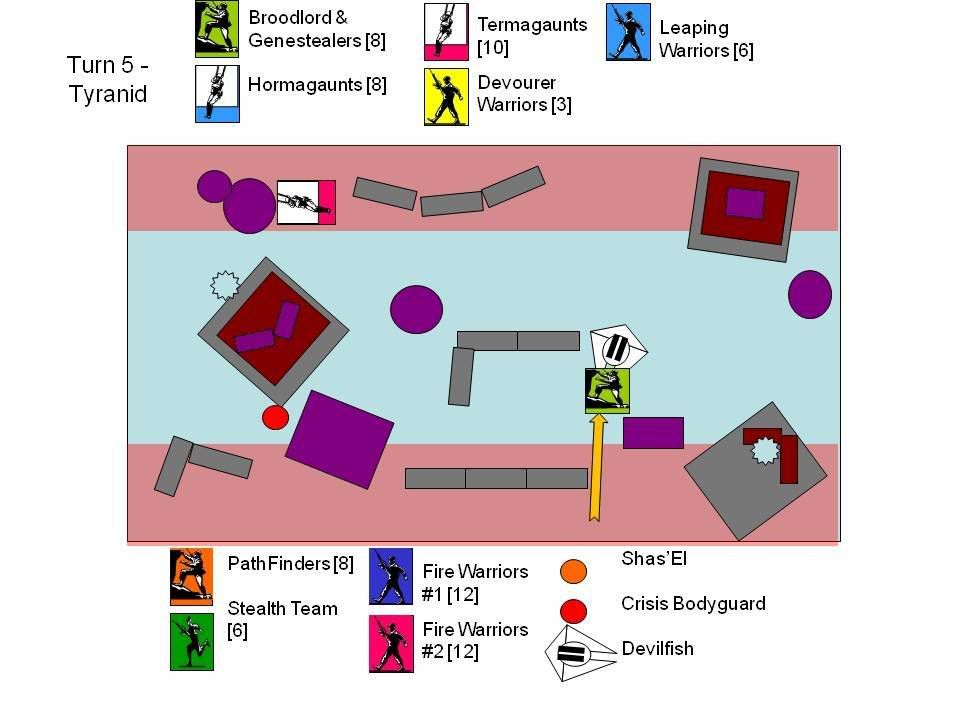 Turn 5: The Gaunts failed their leadership and skulked - cursable numbskulls. Meanwhile the Broodlord charged the devilfish again - but failed to score a hit! The combat between the Tyranid Warrior and the Shas'El thundered across the board, here was the hopes and dreams of the greater good facing up to the hivemind.
 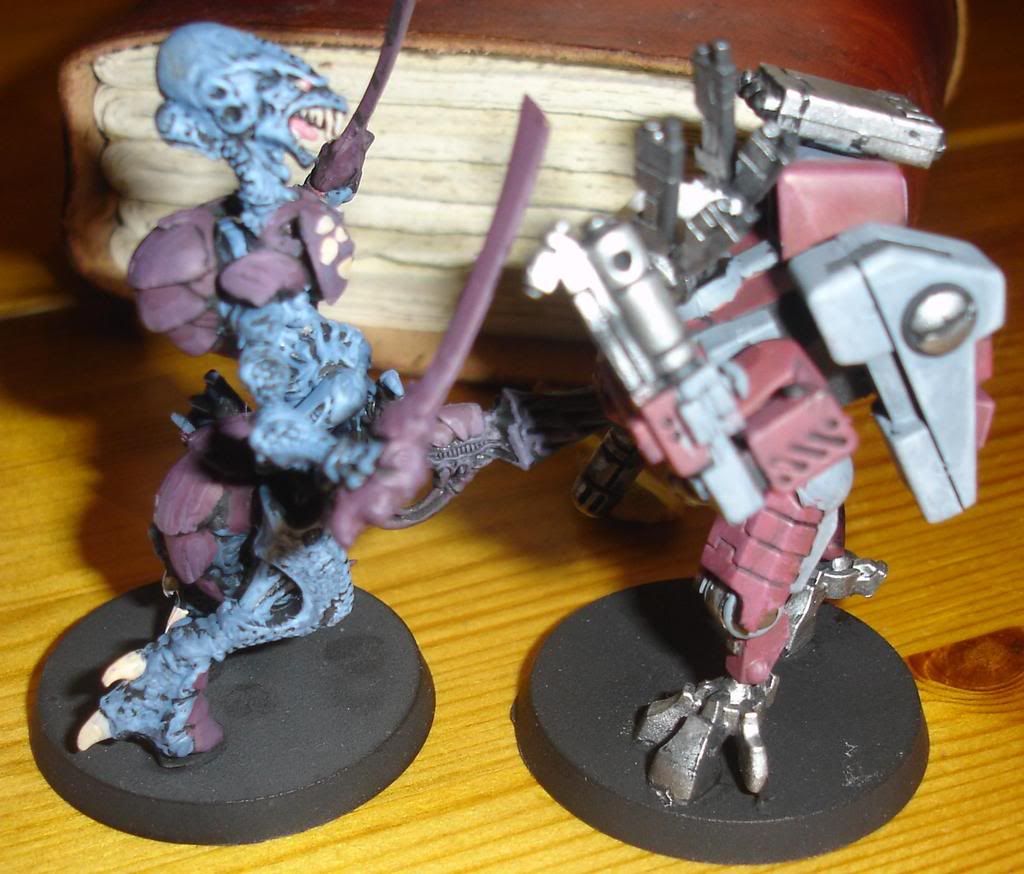 With a roar the sything blades of the tyranid struck at the Tau crisis armour - in return the Crisis Shas'El reconfigured his power supply. Grasping the Alien about the neck with his armoured gauntlet he slammed the bulky plasma rifle repeated into the things armoured skull. Eventually reinforced chitin crunched under the superior strength of the XV8 suit. The scrabbling claws flailed senselessly at his visual display corum as his twisted the creature neck with a grunt. Flinging the gaping, tyrannic maw away from him the Shas'El glanced down at the shaking and shivering creature. "Now that's what I call the grated good!" he grimaced and burst across the battlefield in a blast of superheated air.
The Devilfish redeployed one last time and deposited the Pathfinders, the Shas'El leapt to the hill and took a passing shot at the Broodlord (failing to hit) and moving on towards the Tyranid objective. The pathfinders and devilfish fire on the Broodlord and bring him down to one wound.
We roll a dice, a 3 - play on!
Turn 6: Tyranid options are bleak, I pass my gaunt skulking test and raced towards the objective. After careful thought I decide to try to kill the Crisis Suit. Unfortunately I decide to just shoot the Crisis Suit instead of charging - not sure why now (tired I guess), they fail to kill. Additionally, the broodlord fails to kill the devilfish.

In return the Crisis Suit Charges the Gaunts, killing them with flame (again), missile pod (again) and a big fist. The pathfinders stay put and contrary to every other turn, fire their well guarded rail rifles at the broodlord. The two S6 AP3 hits hit, and kill him twice over. The rest of the squad shoot up the gaunts.
 At the End of turn six only 3 gaunts remain, but on the objective (see small tyranid claw)!?! We roll a six, turn 7!!
Turn 7: need I say that the poor gaunts died badly and that annililation was achieved. With a well wounded Shas'El, a squad of cowardly pathfinders and a very well scratched tank - it was a worthy victory!
Conclusion: What a battle! It had everything! I was particularly pleased with my leaping Tyranids and my enhanced senses devourers. At 12 shots a turn, they pumped impressive firepower into the tau and albeit with the help of some unlucky saving throws - forced the odds and killed 6 firewarriors, 6 stealthsuits and a crisis bodyguard - and almost killed the commander too!! I'm seriously considering dropping deathspitters from the arsenal and stocking up with more devourers. Alternatively, I'm thinking that more broods and a significant squad of rending claw and scthying talon leaping warriors is the way to go. With 4 rending attacks on the 18" charge, they can follow in behind the hormagaunt to mop up. The loss of the hormagaunts was a pain, also the broodlord proved useless. His lack of a fleet option leaves him very vulnerable to the 'move and fire' tau devilfish tactics.
My next purchase will be the Tyranid Battle Force as I need more critters to fling at the enemy, additionally a second - 'fleeting' - genestealer swarm would give me real punch. The warriors were impressive though and extended carapace proved very effective (considering I had so few models) reducing losses for both the genestealer and warriors and ensuring I could fight on!
The tau were great, I'll continue to paint them up, the next purchase for them is some Kroot and Kroot Hounds. I've only got to finish painting over 100 models before I can buy them!!?